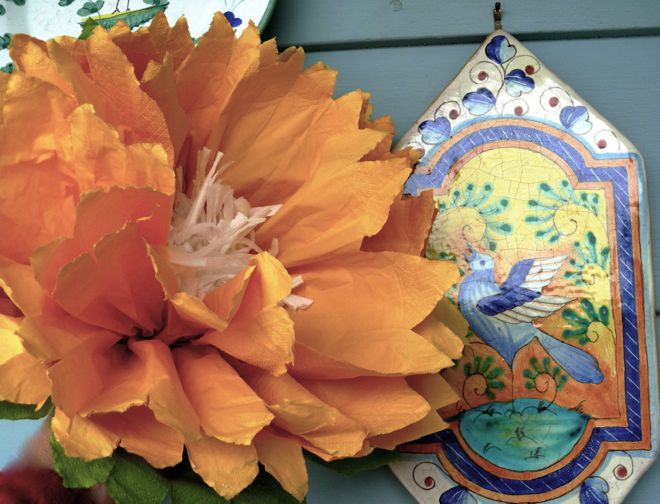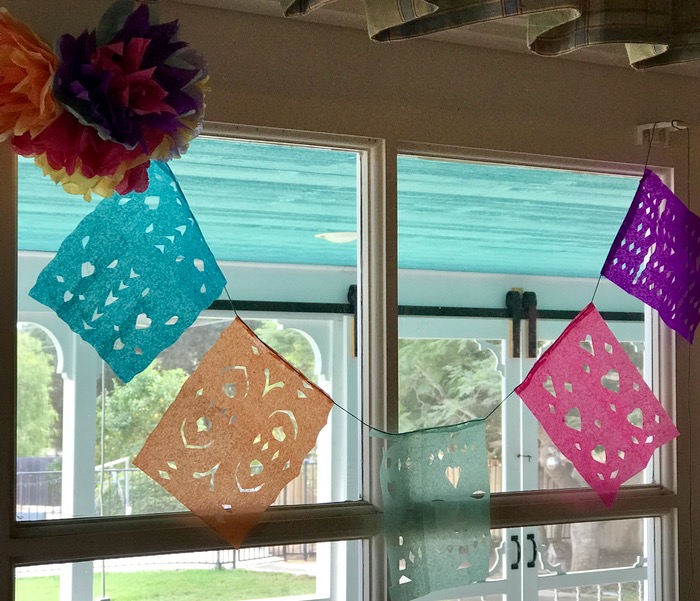
Seven years ago we made big, bodacious paper napkin flowers. Now, we are taking this hands-on activity to a
Barnes & Noble Mini Maker Faire... still paper, still bodacious, but this time a bit smaller!
Here is our original
tutorial for making paper flowers, and we used napkins, but the same principles apply, and you can easily make large or small paper flowers following our tips. Once you master the basics, it's easy and fun to get creative and make your own unique floral varieties.

Our craft store had a variety pack of colored tissue papers. I cut the large sheets down... not too preciously, because everything gets trimmed anyway. Hopefully, this generous supply will be enough for sharing with the visitors to the Faire.

Perfect timing for photo purposes... Maria is teaching Geoff how to make a paper flower, so here is a picture of Geoff's accordion folded papers, cinched together with string. We've found that six pieces of paper makes a nice, full blossom. More paper gets too thick to manage without tearing paper.

Now... trim the ends. Maria is cutting a point which will give her petals a daisy or zinnia look. Crinkle cut the ends and you can make a carnation.

Here, Geoff has cut the ends in a nice rounded curve, which will make petals like a dahlia, or ranunculus.

Now carefully separate each paper... pulling them up toward center, one petal at a time. The paper tears easily, and not every tear means a disaster, but do be patient.

The center of the flower will get thick, and so don't expect to tug the tissue paper up too much. Once all the petals are up, you can turn the paper, making adjustments to the look of your flower.

Mix colors, play with the cut ends. We slipped a bobbie pin into the tie at the base of the flower, and we are wearing flowers in our hair.

Tie them together for party decorations. Glue them to a headband, attach them to a parade float, make a piñata!


No comments:
Post a Comment