Whether you are preparing for
an apocalypse of zombastic proportions, dueling with your frenemies, or just need to
decimate a piñata, there comes a time in every life when you need a reliable weapon. A destructive, yet safe, oversized battle axe, a
vorpal sword. Something with heft, cushion, and duct tape.
Max has something
for you. Let's Make!

Max started making these cudgels, broad swords, hammers, axes, and flails last year. They are fun to use. There is something primally appealing about picking up a large stick and swinging it around, hitting another large stick, and shouting,
"Now stand aside worthy adversary!"
If you want to build a fun, affordable, safe(ish) arsenal, then begin by gathering your supplies:
Supply List
foam... pool noodles are great, and can sometimes be found in the thrift shops, and yard sales
tape measure
2 part epoxy
hack saw, and utility knife
access to a circular saw
PVC
Duct tape...
lots!
a Sharpie

Max's idea to build these weapons was inspired by a
cudgel his dad brought home from
Burning Man.* Fortunately, we had all the supplies he needed to begin his Make project. The PVC is 1/2 inch diameter, scraps from various irrigation repairs around the house.
*Geoff, Alex, Suki, and Grant were at Burning Man, together, in 2011. I made Geoff a long white, silk tunic, and at Burning Man he was charged with defending the Trojan Horse, and keeping spectators from being crushed under the
50' tall, 28 ton moving art piece. He carried his foam and duct tape cudgel to exercise his authority, and can be
seen near the massive wheel, 45 seconds into this video. (I cannot suppress my delight.)
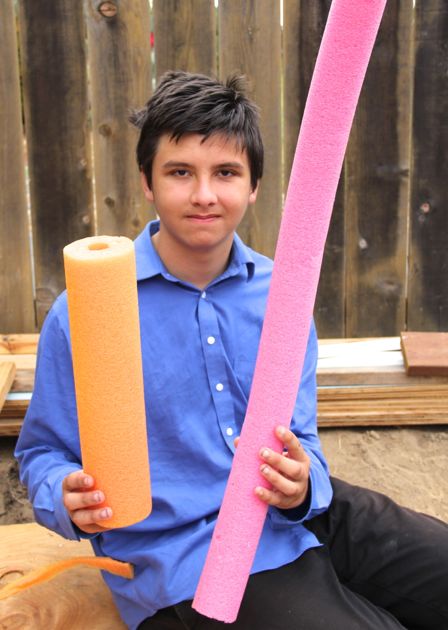
These pool noodles fit like sleeves over the PVC, and they are both durable and soft.
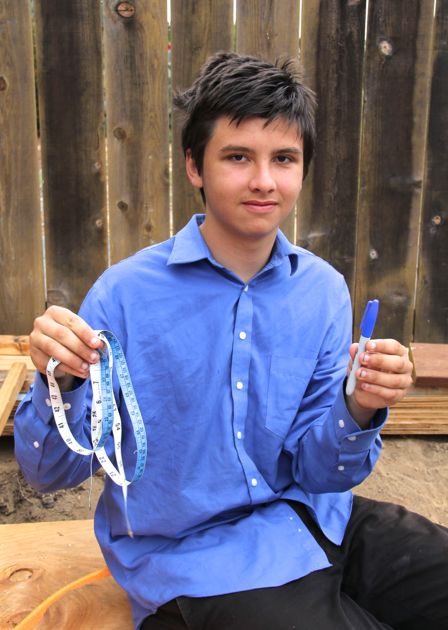 Ah! Ha! So, that's wear my measuring tape went!
Remember,
measure twice, cut once.
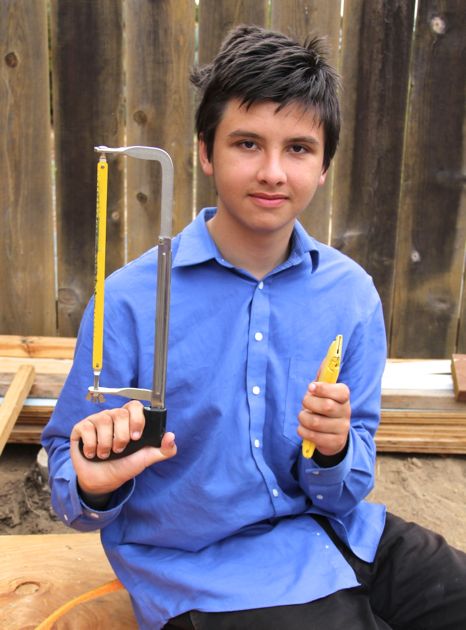
The utility knife is the all purpose tool for cutting lengths of foam, and the hacksaw came in handy for shaping the weapons. Sharp tools are always the
right tool and, used responsibly, are safe and good. I defer to
our friend, Gever Tully, on matters of "Dangerous Things." Gever Tully is the expert who
confirms my beliefs about the wisdom of letting children do "dangerous things."
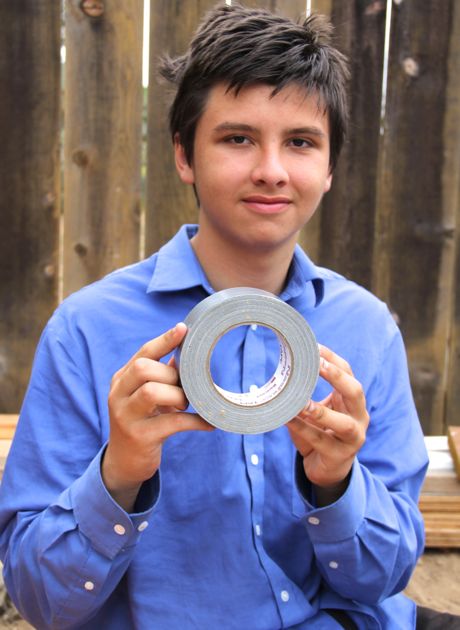
Duct tape. Duct tape. Duct tape.
You can never have too much duct tape. This is the stuff. The stuff to hold all the parts together, the stuff to shape and form, and finish your weapon. And: Max is looking forward to picking up some of those great
Duck tape colors. He will use the fancier varieties and colors to decorate his weapons.
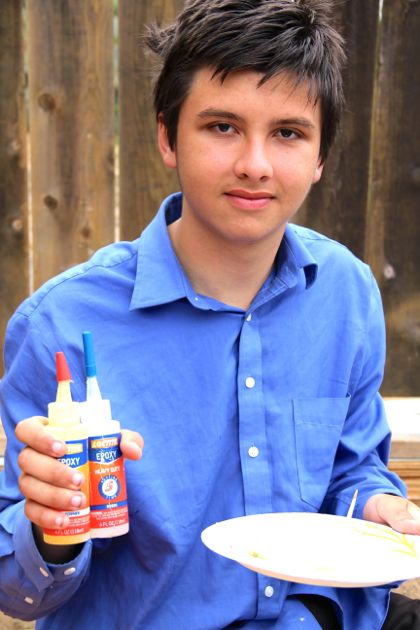 Loctite, heavy duty, five minute epoxy.
 This is not a paid endorsement. I just get so frustrated when a tutorial mentions "glue," but fails to mention anything specific... as though any kind will do. There are hundreds of glues, and epoxy types, out there, and
Loctite, heavy duty, five minute epoxy is what we had, and what worked for Max.
Let's begin!
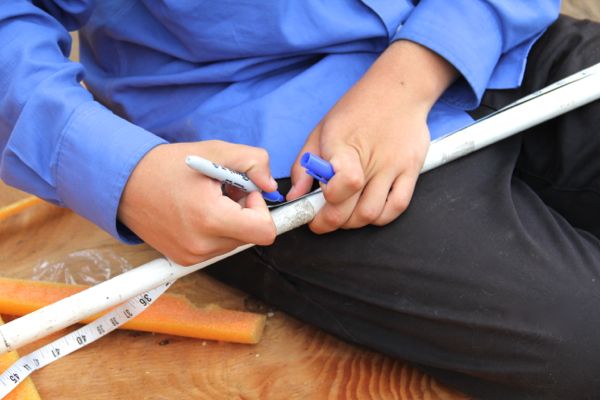
Max decides on the general idea of his weapon, this one will be a short sword. He's measured his PVC, and is marking it to cut with the circular saw. He is accounting for the length of the blade, as well as
the hilt... leaving plenty of room for the thickness of the foam and a comfortable grip on the handle.
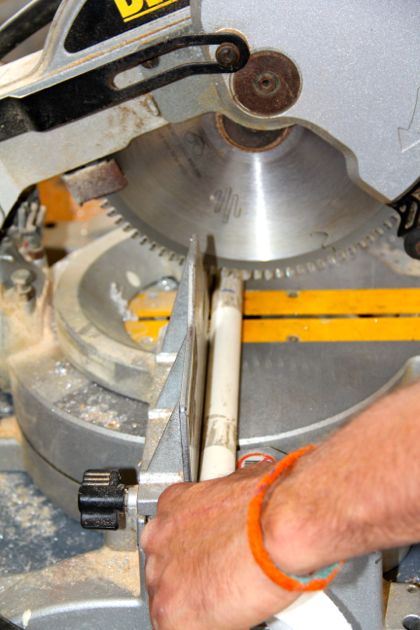
Geoff happened to be working in the shop, too, and made the cut for Max.
Goggles on! Go!
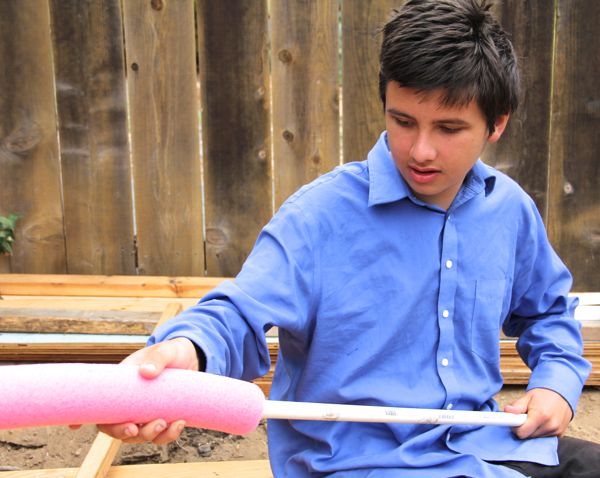
Now, with the PVC the length he needs, he slips the foam noodle over the pipe, stopping with space for the hilt.
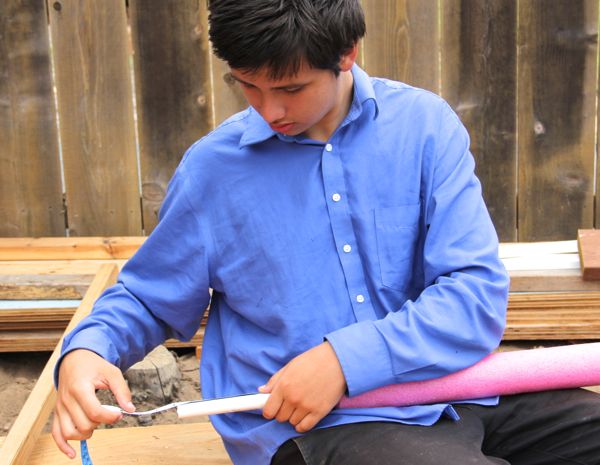
Now he is measuring the space that will be the hilt... including
the crossguard, and
the pommel.
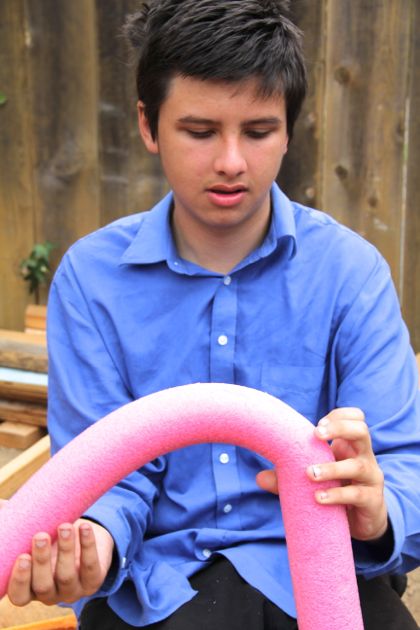
Here we see Max feeling for the end of the PVC inside the foam. He is forming the tip of his sword blade. He is measuring enough foam to make the tip soft, and safe. Before cutting off the excess foam, he will ensure there is enough foam around the tip of his sword to ensure nothing hard or sharp will poke through.
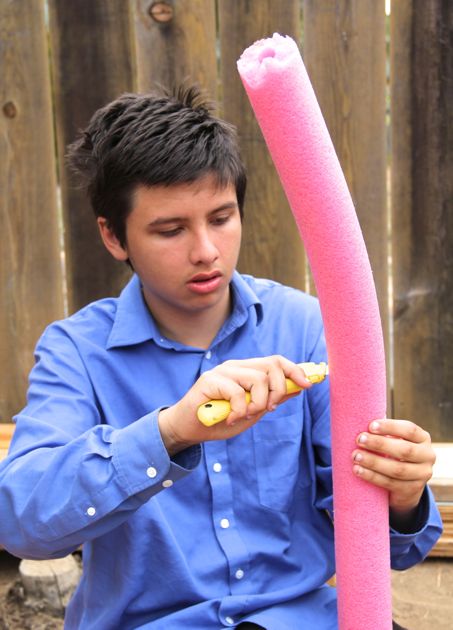
He cuts well above the end of the PVC.
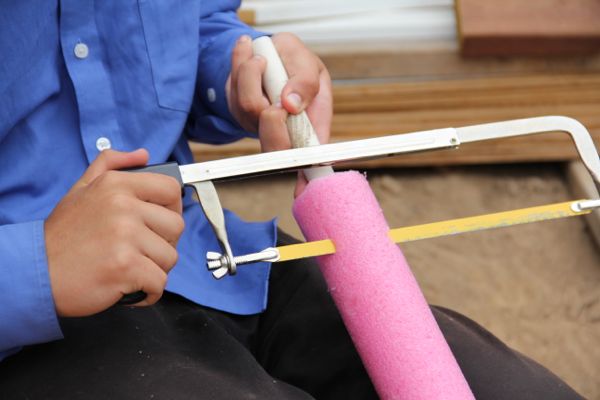
The foam is measured, fitted, and cut, so Max is ready to shape his sword. Using the hacksaw, he shaves off foam to create a broad sides that taper at the end of the sword.
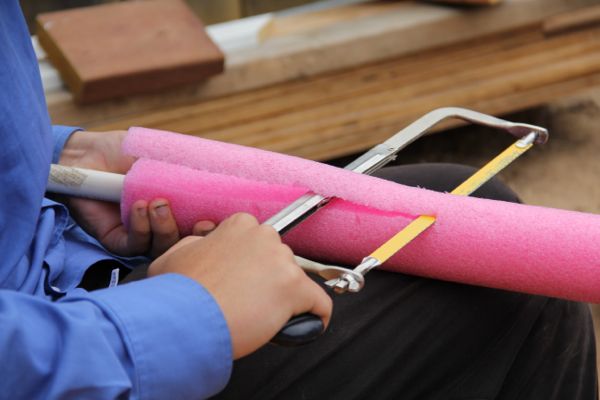 Hmmmm... okay, I can see where we have room to step up our safety measures, here. He works carefully, methodically, and I was not so uneasy watching him, as I am looking at these photos. In the future we will see this step done on an appropriate work surface, like our dining table.
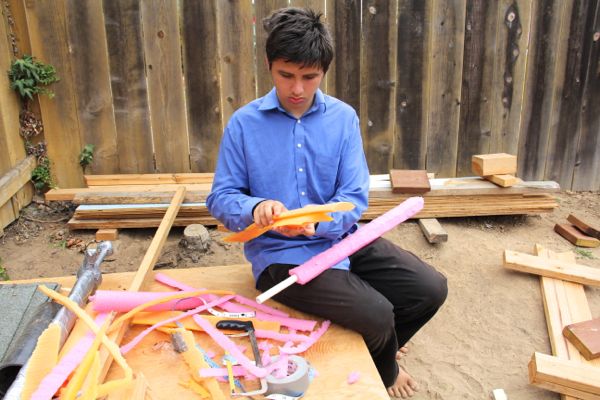
Using scraps from an earlier foam shaping job, Max chooses pieces for the crossguard. The crossguard is that piece at the base of the sword that is perpendicular to the blade, and keeps your hand from sliding up the weapon. (I learn new things from my children everyday!)
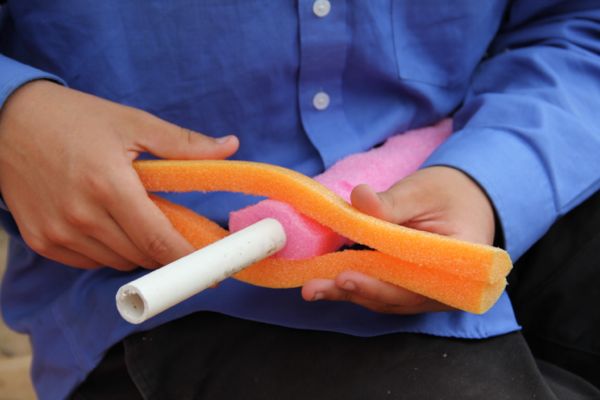
This is a good time to talk about the five minute epoxy. Max uses the epoxy to secure the sword (pink) foam to the PVC, and will use more epoxy to secure the crossguard pieces (orange). It's stinky stuff, and best used outside, in open air.
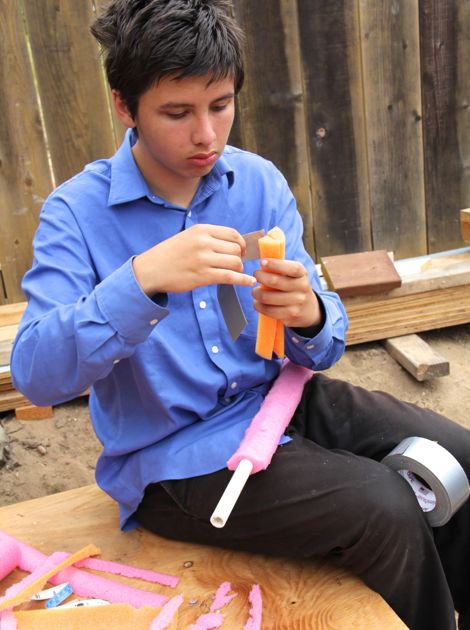
Besides epoxy, this is where he begins to use the duct tape. It's good for piecing, holding everything together, and in place, as well as for final shaping of the overall weapon.
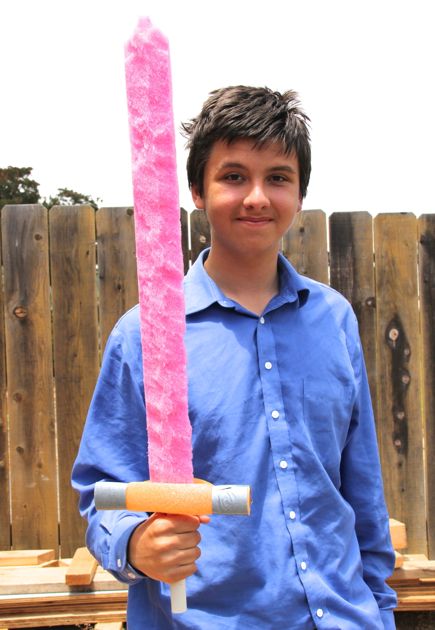
And here it is! This is the short sword, before it is wrapped in duct tape. Later, he added an additional piece to the bottom of the hilt... the
pommel, so that his hand fits between two parts, making the sword more secure in his grip. After his new sword is artfully wrapped up in duct tape, it will be ready for the battlefield, and glory!
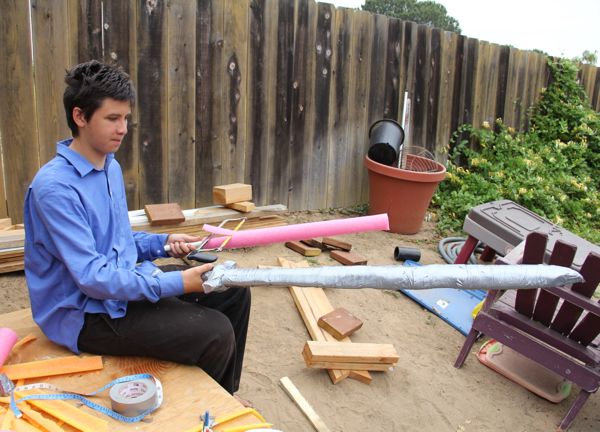
And here you can see Max's huge broad sword next to his smaller sword, still in progress.
Time for the disclaimer: Don't be a goof. Play fair. Play nice. Do not pummel, harass, abuse, maim, harm, terrorize, intimidate, or hurt your frenemy. Now, go play, tinker, and Make!