Wednesday, December 9, 2015
What Makers Do
Makers can do incredible things, not only with what they make, but with how they share their creations. Even the smallest gestures can build community, touch hearts, inspire more thoughtful acts. To see an uplifting story about making believe, and healing, please follow this link: A Firefly Forest~
Monday, December 7, 2015
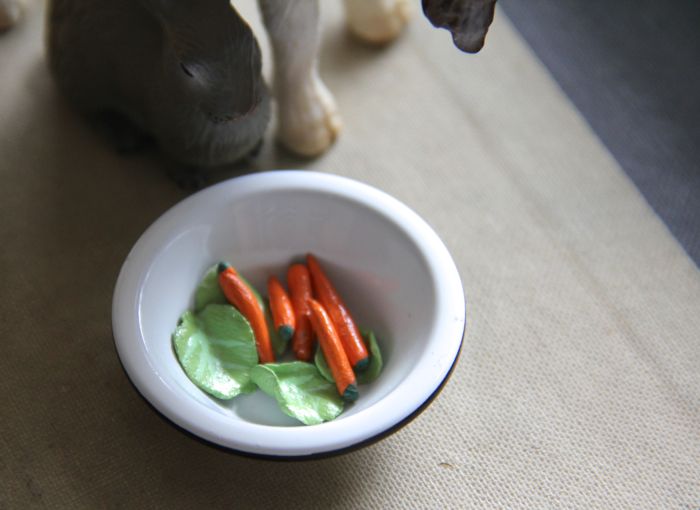
Make PaperClay Mushrooms
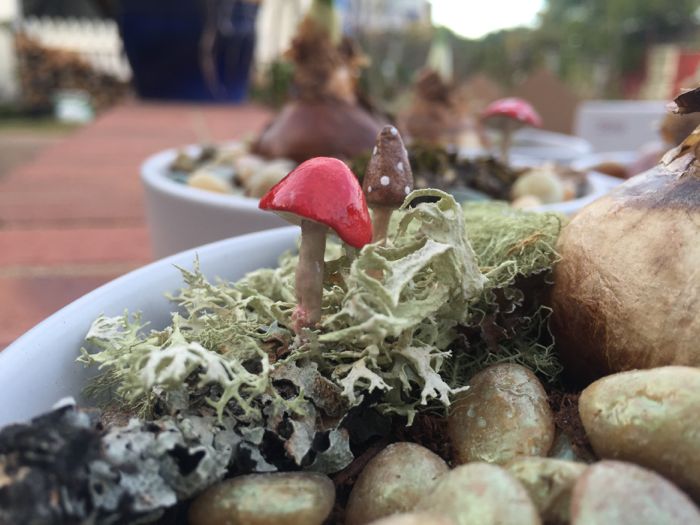
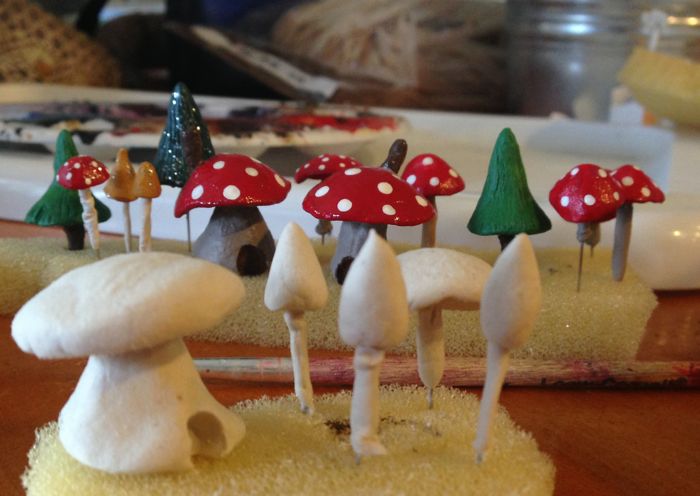
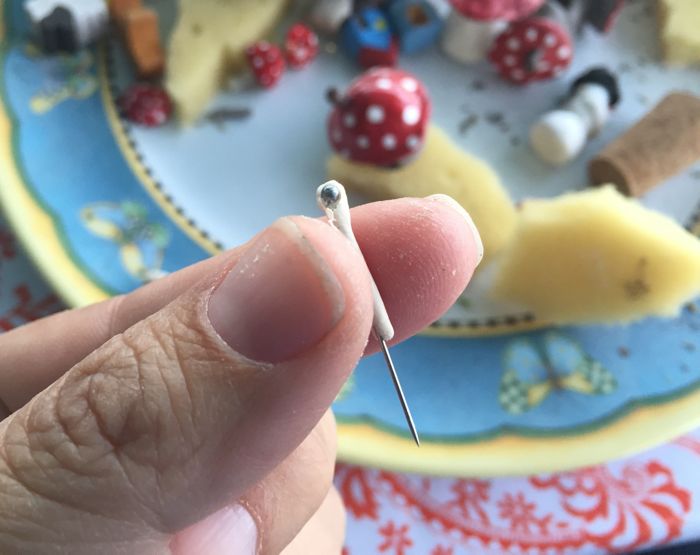
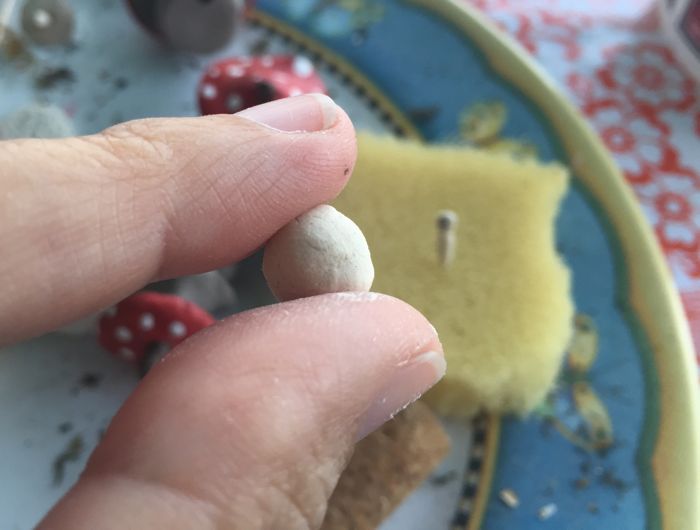
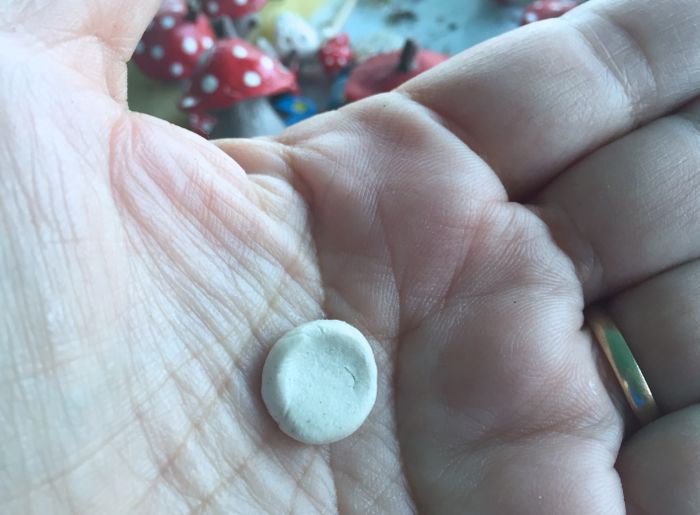
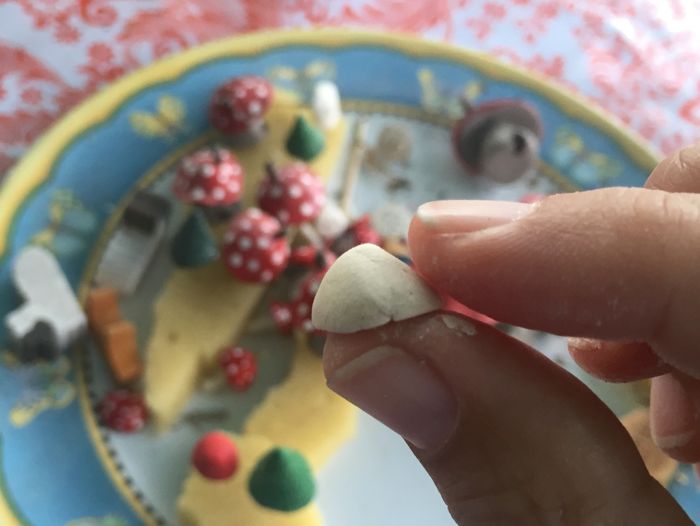
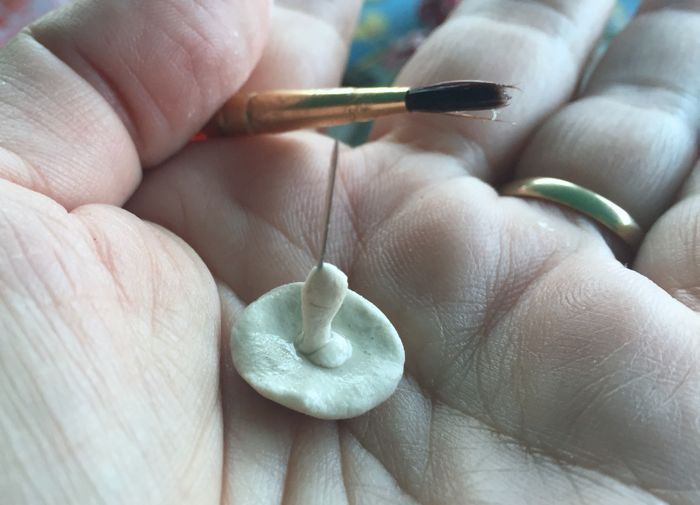
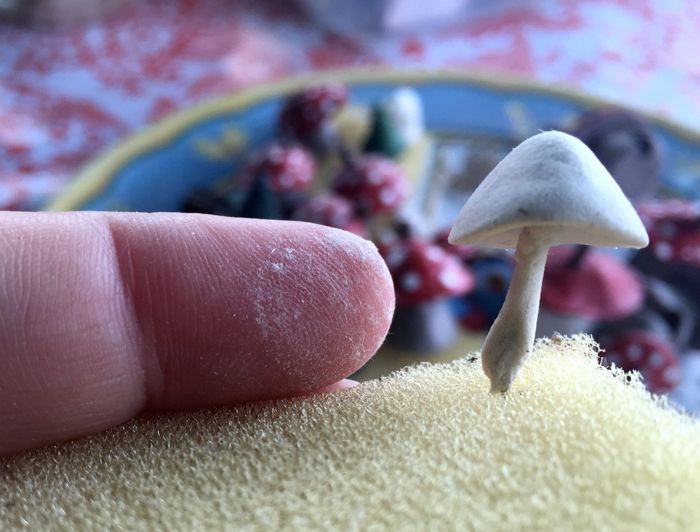
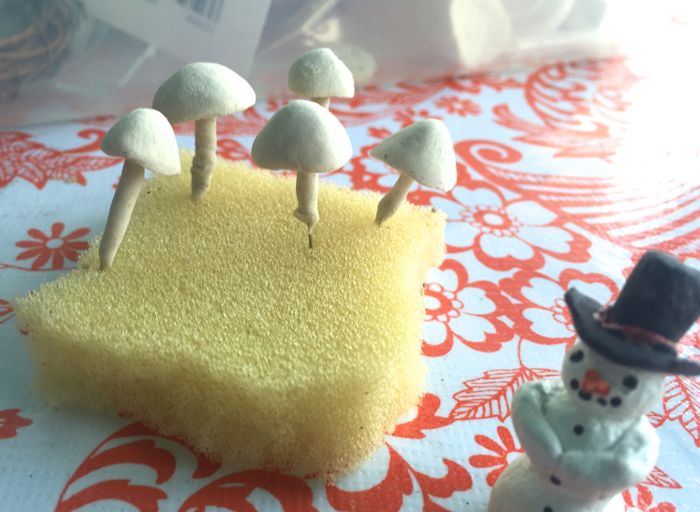
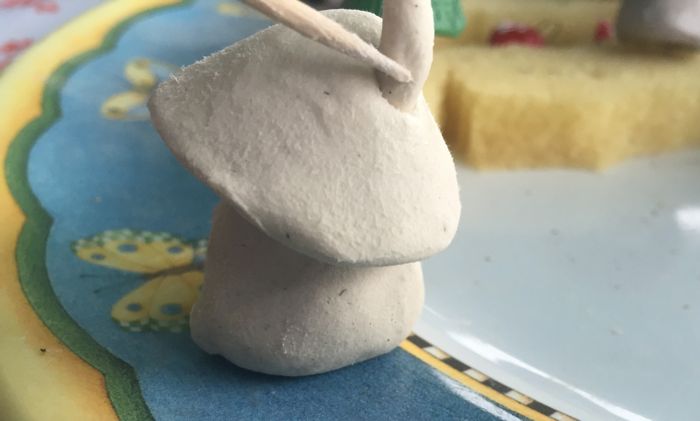
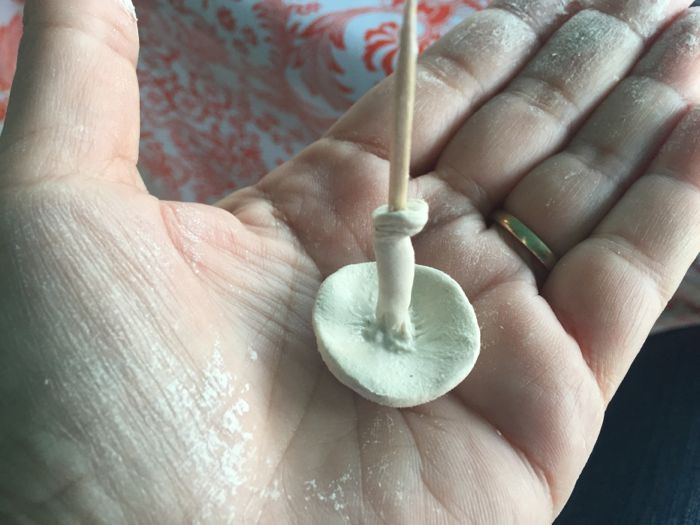
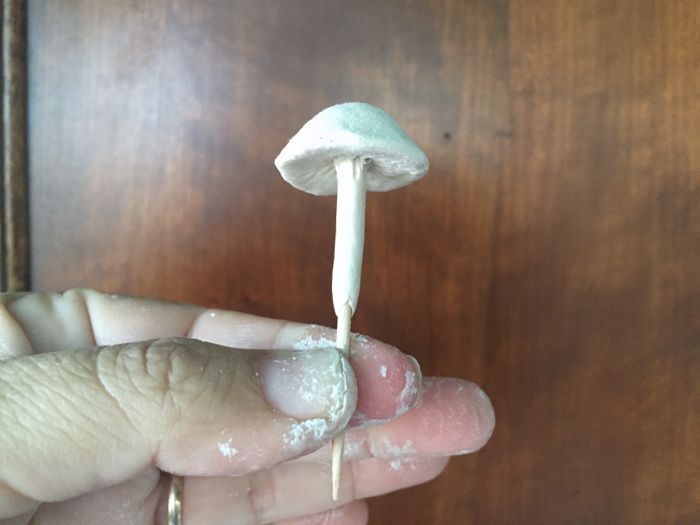
These mushrooms, gnomes, trees, and houses are easy to make, fun, too. There are very few supplies to gather. It only takes some time and a bit of patience to make tiny garden accessories. Maria and I have seen a lot of fairy garden pieces in gift shops and nurseries, but we still think these homemade ones are the most charming! We hope you will give this craft a try, and share your results with us!
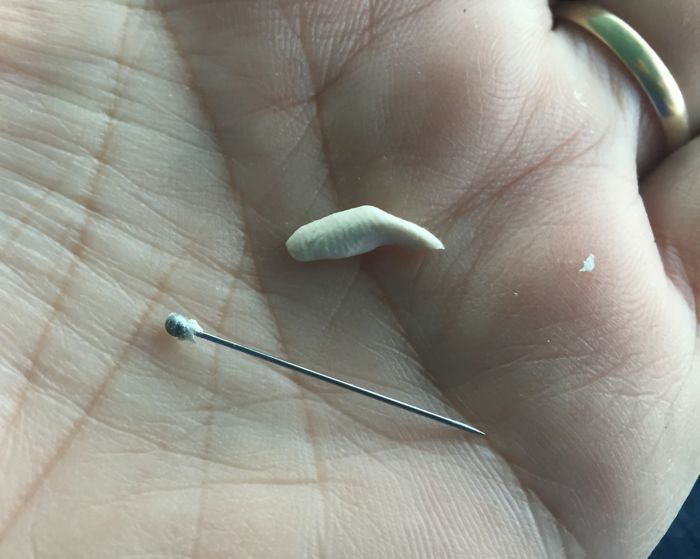
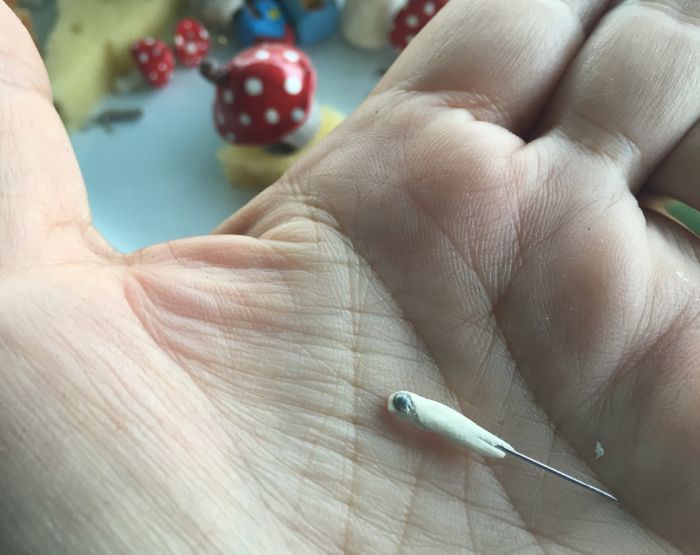
1. PaperClay... we found ours in a craft shop. After it's open, it will dry out easily, so keep it in an airtight bag. Also, one package is plenty, when making these little crafts; I've never run out.
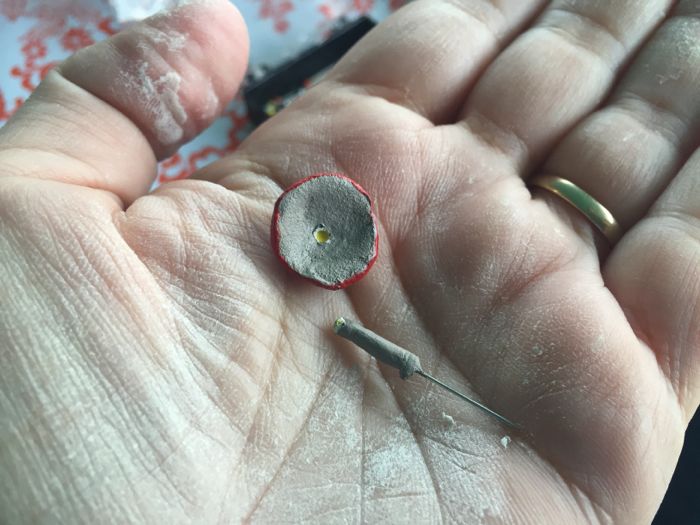
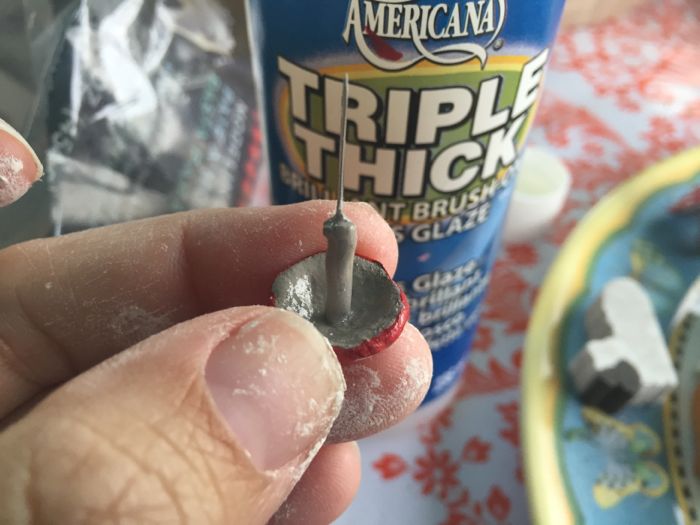
2. Straight pins. I had an old box, found in a thrift shop goody bag of sewing supplies.
3. Elmer's white glue
4. Acrylic craft paints... satin and glossy are nice.
5. A bottle of gloss glaze, to seal the painted project.
6. Small tipped paint brushes.
7. Foam to hold the mushrooms while they dry.
8. Tooth picks.


Saturday, November 14, 2015
Fullmetal Alchemist
Hello, BOoM is looking for anyone who has a recipe for any or all of the following alloys:
1. Britannia Metal
2. English Pewter
3. Field's Metal
4. Any other non-toxic fusible alloys.
And by "recipe" I mean a description of the process for making the alloy (temperatures, times, etc.) The proportions are readily available on the Interwebs, but detailed descriptions of the processes are surprisingly hard to find.
An alloying anecdote:
I was searching for recipes and kept coming across the term "Regulus of Antimony" in old mettallurgy books. Well I know what Antimony is, but had no idea what a Regulus of Antimony is. So I Googled it, of course, and found some fascinating history...
"Regulus of Antimony" is actually a term from alchemy that carried over into modern metallurgy. "Regulus" refers to the star Regulus in the constellation Leo. Under certain conditions, when molten, slightly impure, Antimony metal cools slowly, it forms a star shaped crystalline pattern on the surface of the metal.
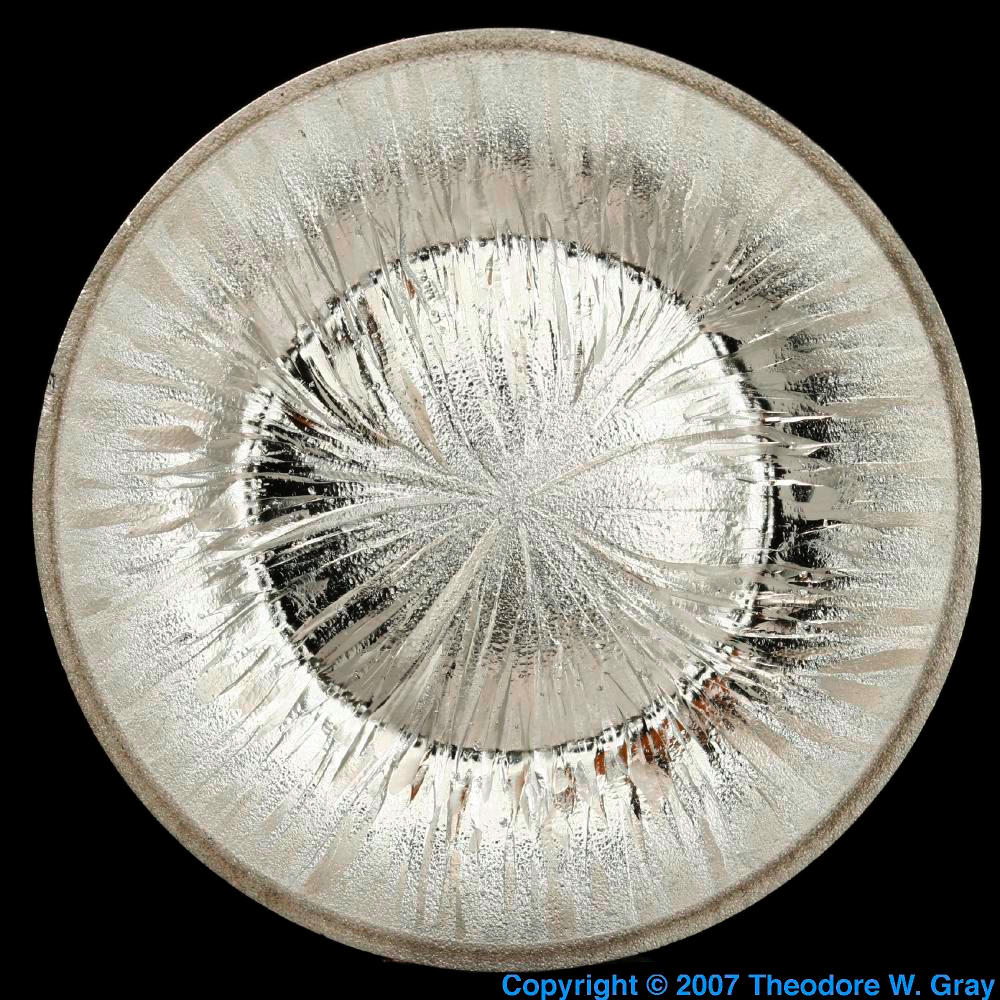
And guess who was the Fullmetal Alchemist of his age and was trying to use Regulus of Antimony to produce the philosopher's stone... Isaac Newton. That's right: Isaac Frickin' Newton, target of falling apples, inventor of the Calculus, and all-around genius.
1. Britannia Metal
2. English Pewter
3. Field's Metal
4. Any other non-toxic fusible alloys.
And by "recipe" I mean a description of the process for making the alloy (temperatures, times, etc.) The proportions are readily available on the Interwebs, but detailed descriptions of the processes are surprisingly hard to find.
An alloying anecdote:
I was searching for recipes and kept coming across the term "Regulus of Antimony" in old mettallurgy books. Well I know what Antimony is, but had no idea what a Regulus of Antimony is. So I Googled it, of course, and found some fascinating history...
"Regulus of Antimony" is actually a term from alchemy that carried over into modern metallurgy. "Regulus" refers to the star Regulus in the constellation Leo. Under certain conditions, when molten, slightly impure, Antimony metal cools slowly, it forms a star shaped crystalline pattern on the surface of the metal.
And guess who was the Fullmetal Alchemist of his age and was trying to use Regulus of Antimony to produce the philosopher's stone... Isaac Newton. That's right: Isaac Frickin' Newton, target of falling apples, inventor of the Calculus, and all-around genius.
Further refinements would create crystalline "rays" on the surface of the metallic antimony, hence it was called the star-regulus of antimony. Starkey then fused the star-regulus with silver or copper, which allowed him to amalgamate the antimony with quicksilver. Eventually, he produced a "sophic mercury" in which gold could be made to dissolve and "vegetate"—forming tree-like growths. Starkey, and Newton, believed this "vegetation" was evidence that sophic mercury was a key to producing the ultimate agent of transmutation—the philosophers' stone.
From "Newton's Alchemy," by Bill Newman
Saturday, October 31, 2015
Lady Betty Orpington Scholarship
This scholarship is for Young Makers with distinguished academic achievement in Science, Technology, Engineering, Art and Math, while displaying inspiring achievements of character in their personal lives. Lady Betty Orpington scholarship candidates exhibit creativity, ingenuity, diligence, courage, humor, and pluck in the pursuit of new skills.
To be considered for the Lady Betty Orpington Foundation Scholarship, and its benefits, please fill out the questionnaire, and include an example of one of your accomplishments in Science, Technology, Engineering, Art, and or Math, which you feels best exemplifies your creativity, ingenuity, diligence, courage, humor and pluck. Your example can be a sample project, photograph, essay, video, or demonstration, and please include a one paragraph description that explains what makes this accomplishment important to you.
Qualifications: Must be a high school senior in Encinitas, California, 2015-2016, with the intention of attending a university in the Fall of 2016. Applicant must be a Young Maker, with experience as a Maker Faire participant, as well as mentoring in an official Young Makers' Club.
Scholarship: This is for a $100.00 cash scholarship, with future consideration for Lady Betty Orpington Foundation grants, and merit awards.
Full Name:___________________________________ __________________________________________
Date of Birth:_______________________________
Name of Young Makers Club:___________________________________________ Year Joined:______________________
Maker Faires Attended (Location and year):
1.
2.
3.
4.
5.
6.
7.
What high school are you attending:_______________________________________________________ Address:____________________________________________________
GPA:______________
Favorite Science Class(es):_______________________________________________________________________________
Favorite Technology Class(es):_______________________________________________________________________________
Favorite Engineering Class(es):_______________________________________________________________________________
Favorite Art Class(es):_______________________________________________________________________________
Favorite Math Class(es):_______________________________________________________________________________
In one paragraph, tell us about being a Young Maker; what do you enjoy about it, or how have you benefitted from participating?
What is your example of an accomplishment in Science, Technology, Engineering, Art, and or Math, which you feel best exemplifies your creativity, ingenuity, diligence, courage, humor and pluck?
Please include a one paragraph description that explains what makes this accomplishment important to you.
Saturday, October 10, 2015
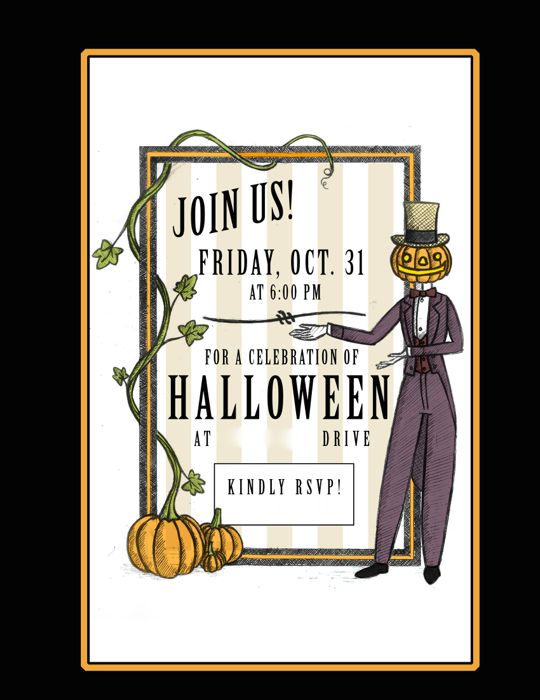
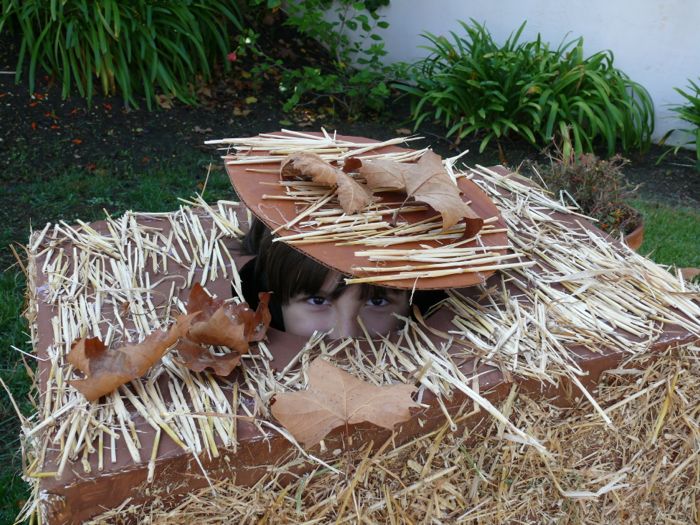
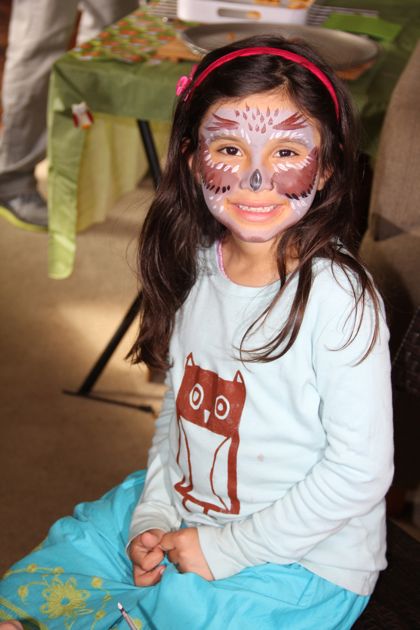
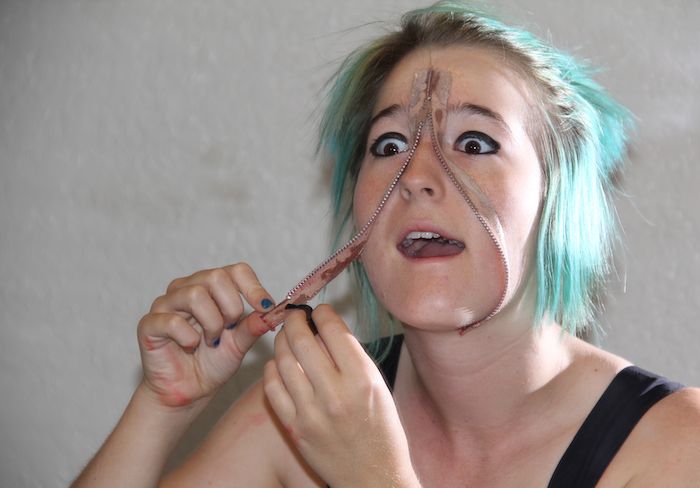
Make Halloween & Cosplay Fun
Halloween is just around the corner.
PaNiC!? Nope. Taking my own advice, because Halloween and dressing up, don't have to cause panic.
This post is chock full of links to Ol'Halloweens Past and other dress-up occasions, lots of pictures and a few reminders to myself: Sometimes the simplest ideas are the best~


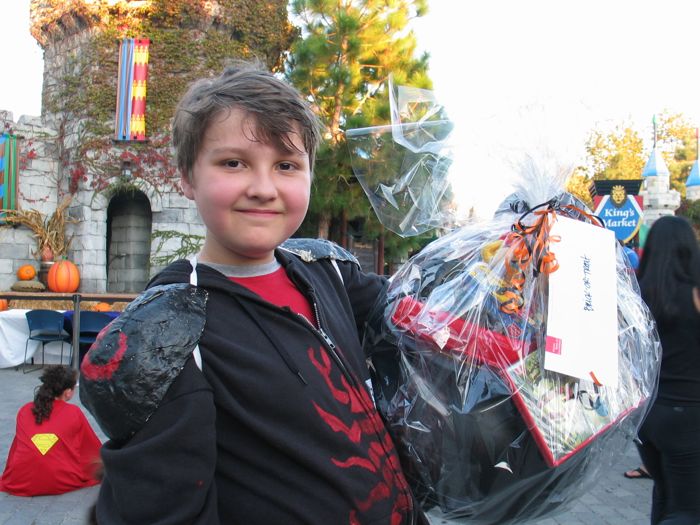
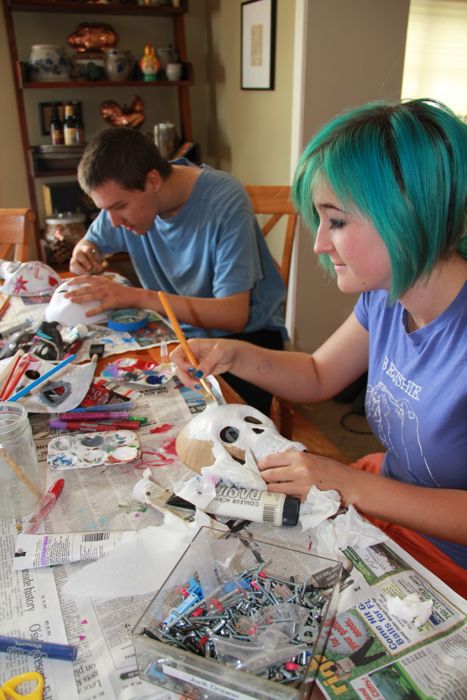
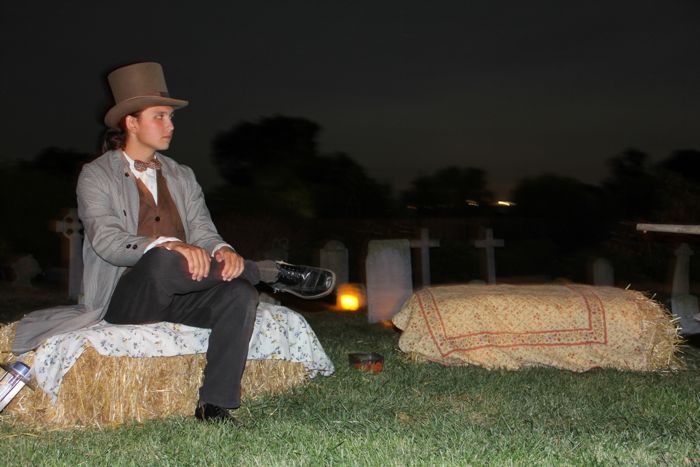
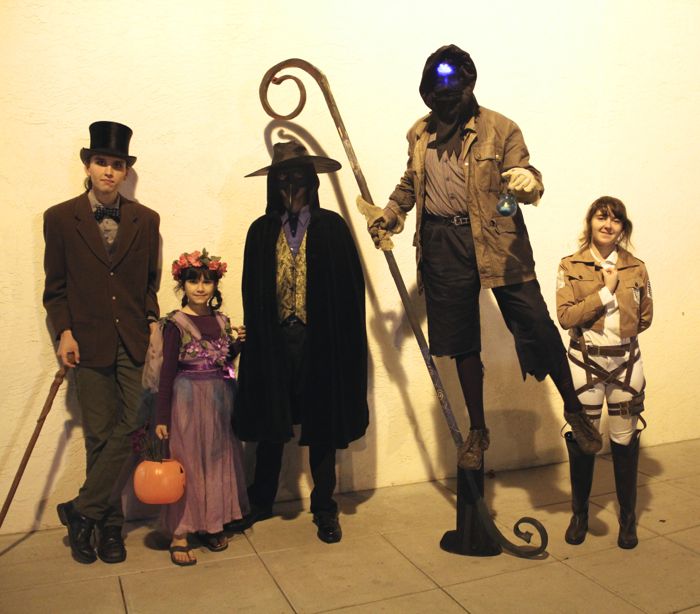
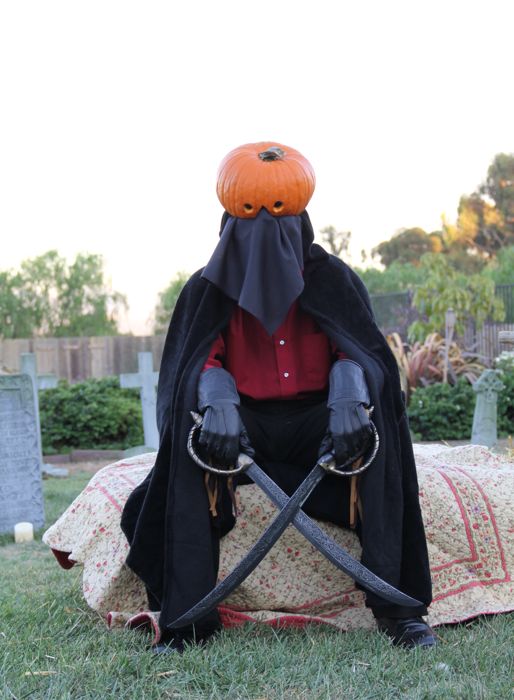
1. Let children follow through on their own ideas. Maybe you can do it "better," but Alex's expression has as much to do with his own accomplishments, as the prize basket he won for Scariest Costume at Legoland! He made his paper mâché armor, and painted his sweatshirt.
He's the Scorpion Knight, by the way.
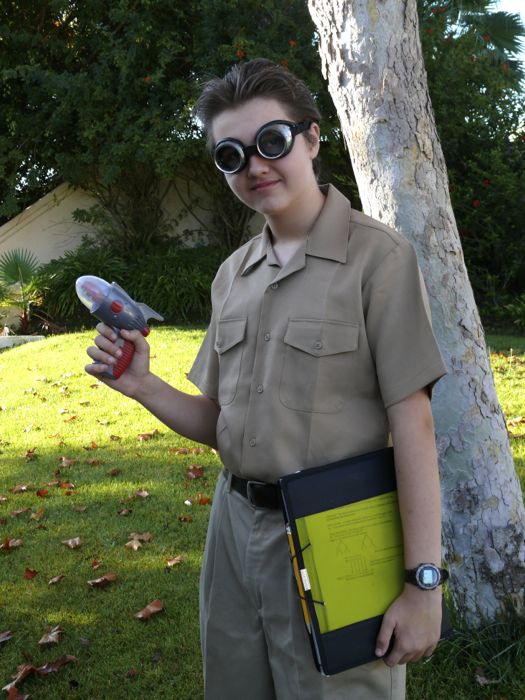
2. Freezer Paper! If you don't have Alex's confidence for painting your own clothes, then look for Freezer Paper. You can achieve great stencil painting results with this crafting, and sewing, wonder resource. It sticks to fabric, and it peels right off. I use it to make pattern pieces, and for painting on fabric, it's indispensable.
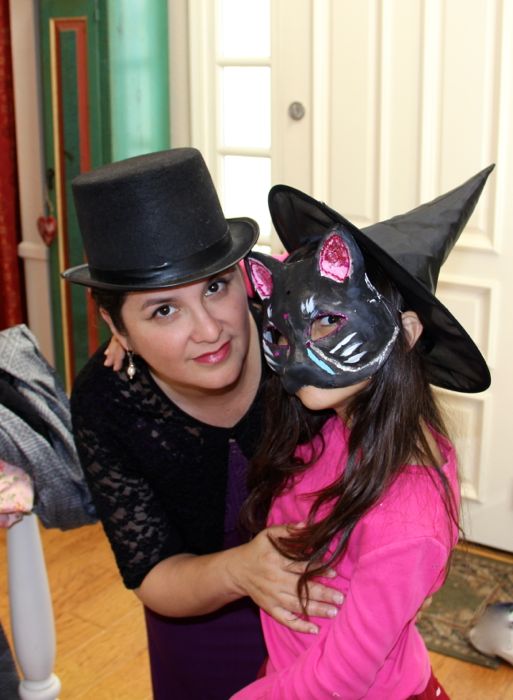

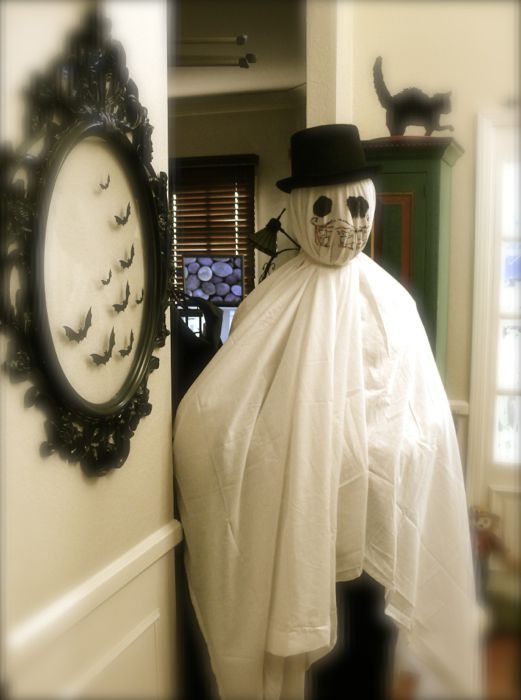
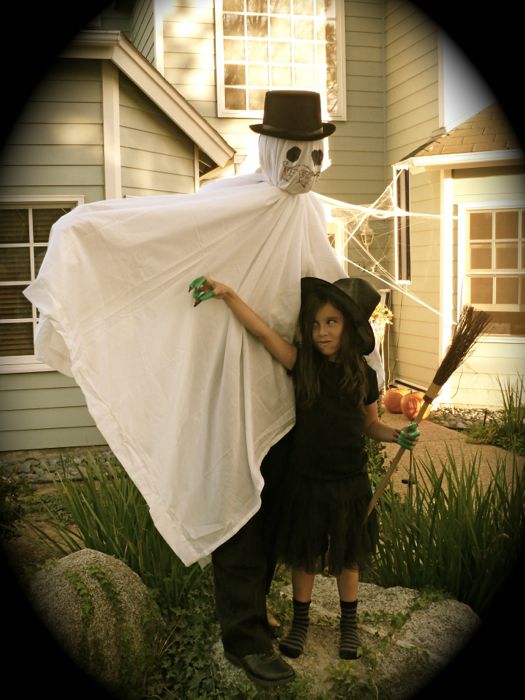
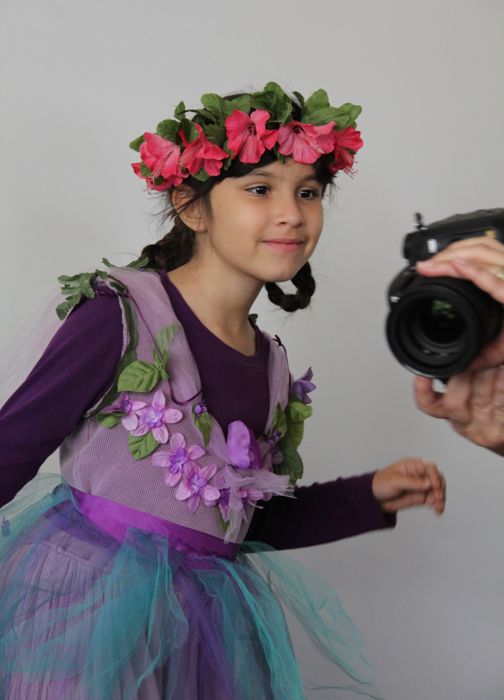
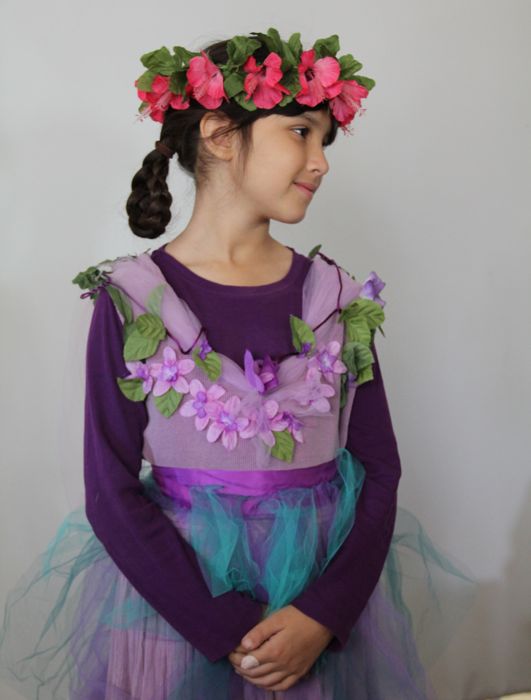
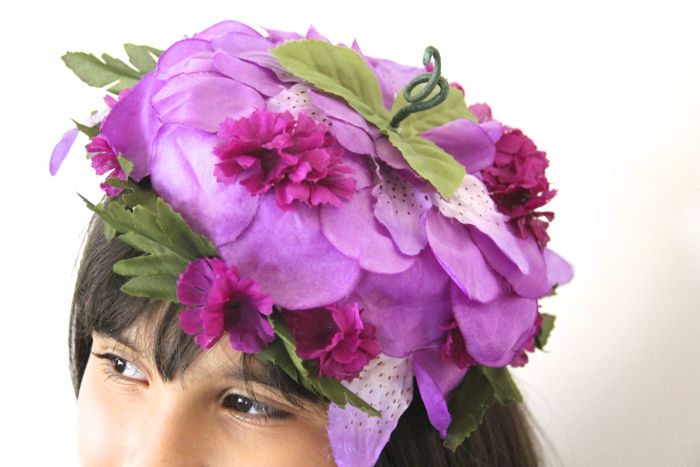
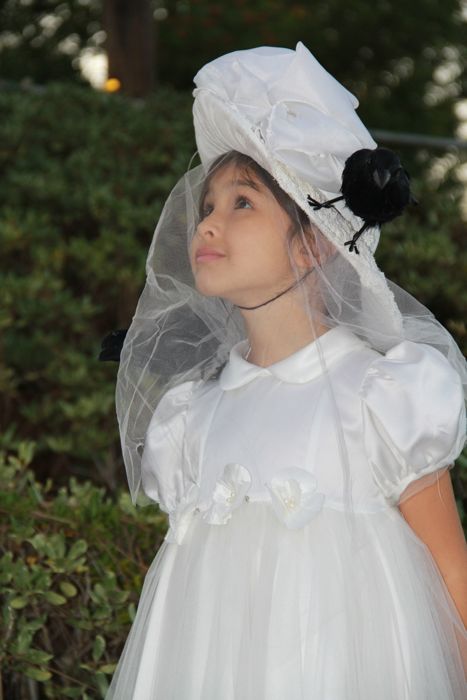

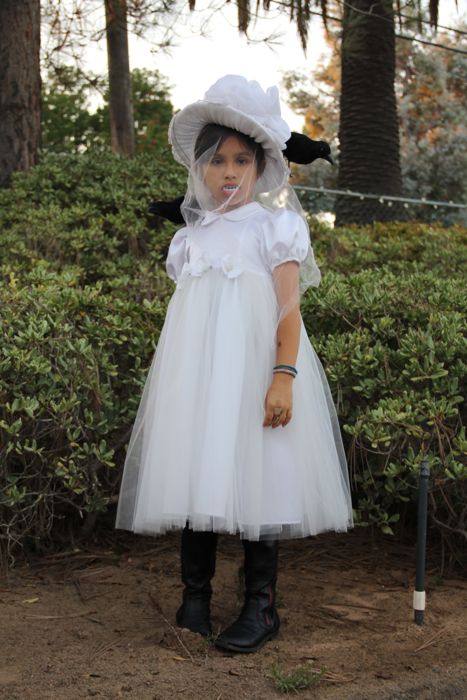
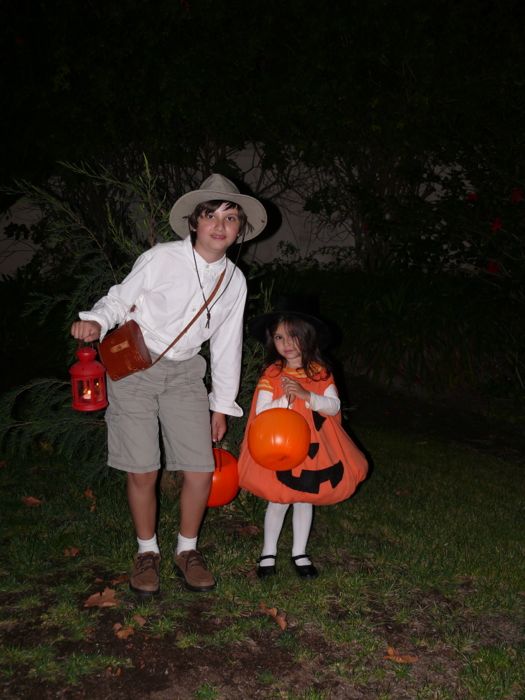
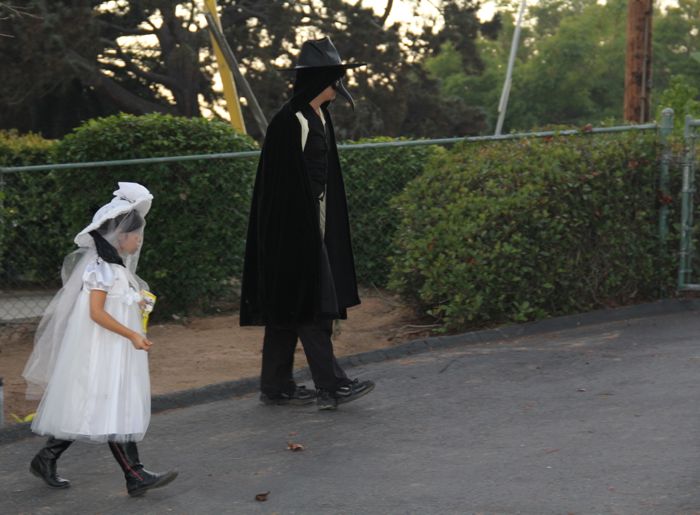
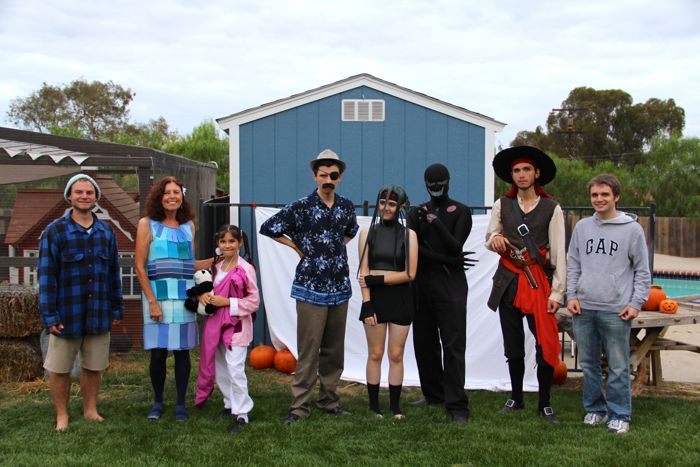
And easy... all thrift shop finds, and borrowed bits from the dress-up drawer. No sewing required!
PaNiC!? Nope. Taking my own advice, because Halloween and dressing up, don't have to cause panic.
This post is chock full of links to Ol'Halloweens Past and other dress-up occasions, lots of pictures and a few reminders to myself: Sometimes the simplest ideas are the best~
1. Let children follow through on their own ideas. Maybe you can do it "better," but Alex's expression has as much to do with his own accomplishments, as the prize basket he won for Scariest Costume at Legoland! He made his paper mâché armor, and painted his sweatshirt.
He's the Scorpion Knight, by the way.
2. Freezer Paper! If you don't have Alex's confidence for painting your own clothes, then look for Freezer Paper. You can achieve great stencil painting results with this crafting, and sewing, wonder resource. It sticks to fabric, and it peels right off. I use it to make pattern pieces, and for painting on fabric, it's indispensable.
And easy... all thrift shop finds, and borrowed bits from the dress-up drawer. No sewing required!
Subscribe to:
Comments (Atom)