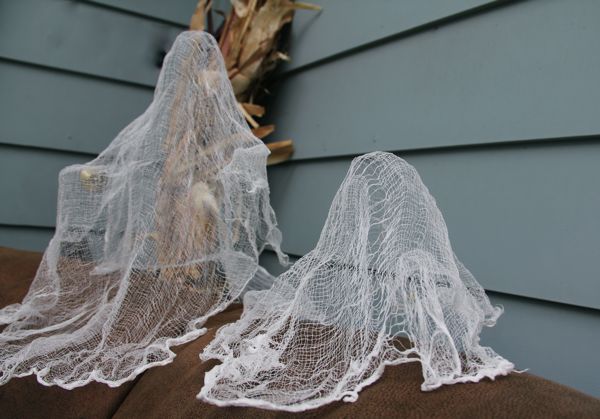
 Una feria de flores!
Welcome to our little flower fair! We've been making floral wreaths... they remind me of leis, of October fest, and the flowers of Mexico...
coronas de flores! They are pretty! Imagine how beautiful they would be if I made them with real flowers... oh, yes, very pretty.
Since real flower wreaths only last a day, and because I wanted to practice my method, before (possibly) destroying any genuine blossoms, I hit the dollar bin at the craft store. I went for the least
fakey looking fake flowers. Maria's
corona is made from a bunch of chrysanthemums that came with fern-like leaves.
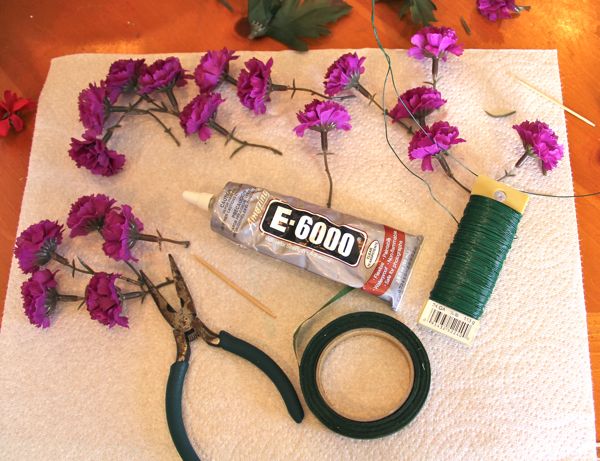
Supplies:
Scissors
Wire Cutters
Flexible wire... ours is floral grade
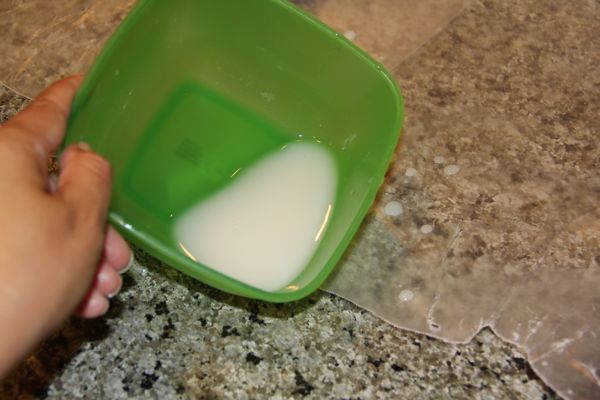
Floral tape... it comes in green and white, and it's tacky, and will stick to itself
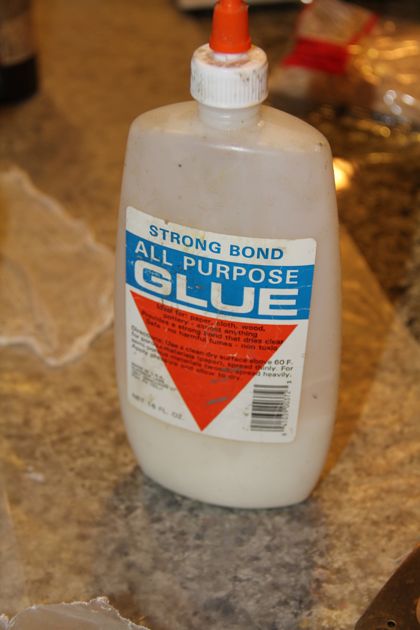
Hot glue, or E6000... hot or stinky, your choice!
Flowers
Ribbon
After I made Maria's, she definitely wanted to play too. I felt a little more confident about her trying this, without suffering too much frustration, since I had figured out the basics, and which parts took the most patience.
So... want to try?
Steps 1-2-3
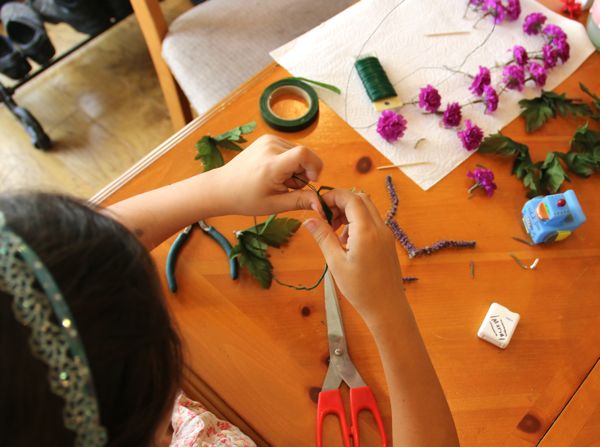
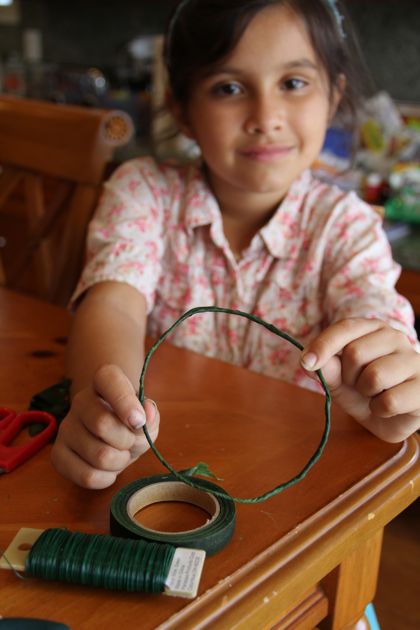
Measure enough wire to fit around your head... not tight, because you'll be making the wreath smaller as you tape, flowers, and ribbon. I suggest at least half an inch of looseness. Unwind enough wire to twist around three times... I did this because one loop of this light wire would be too weak, too flimsy. So consider the strength and flexibility of your wire and make it as rigid as you think will be comfortable to wear around your head.
Cut the length of wire you need, and now twist it around itself, into the wreath form. I was not especially meticulous or fussy about this. The form will be covered in tape, then flowers, and finally the ribbon, so kinks and warps in the wire are not a big deal.
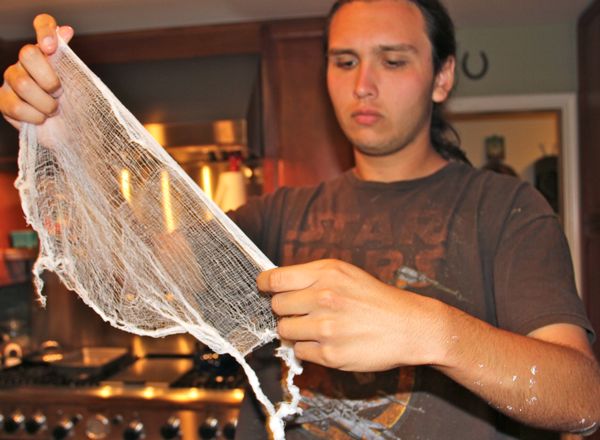
When you have your form, grab the floral tape, and snuggly cover the form with the tape. I added this step to Maria's wreath, so she had a more uniform piece, with no wires to poke her. The tape stretches, and adheres to itself, so pull it taut, as you wrap it round and round the entire wire form.
This part was a bit of a coordination challenge for Maria, so sometimes she would hand it over to me, and I would get her back on course.
See what I mean about the wire? I didn't obsess over how it looked, but to keep anything from poking, we covered all of this up with the floral tape.
It's a wrap! Maria is making her flower crown for her doll, Josefina.
Steps 4-5-6
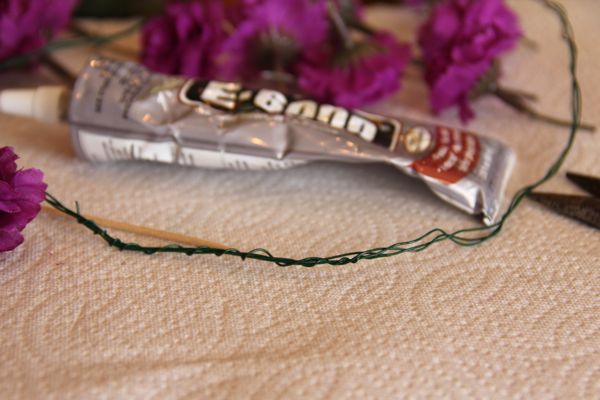
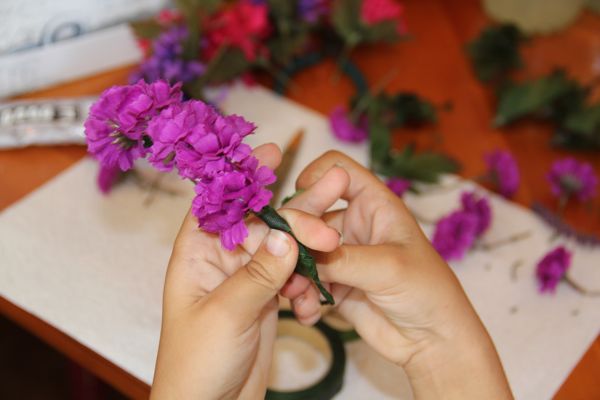
Cut the flowers off of the long stems. This may require wire cutters. Leave 1-2" stems on the flowers, and if you want to include the leaves, then slide the leaves up the stem, closer to the flower.
The next thing you need to do is to glue the flower to the plastic stem.
You may have already figured out that the flowers are not always affixed to the stems, and they can pop off easily. Once the flowers were cut, I then added a drop of E6000 around the base of the flower, to really stick it to the stem. Then I let it dry for about five minutes. Now they are ready to be wrapped onto the wreath.
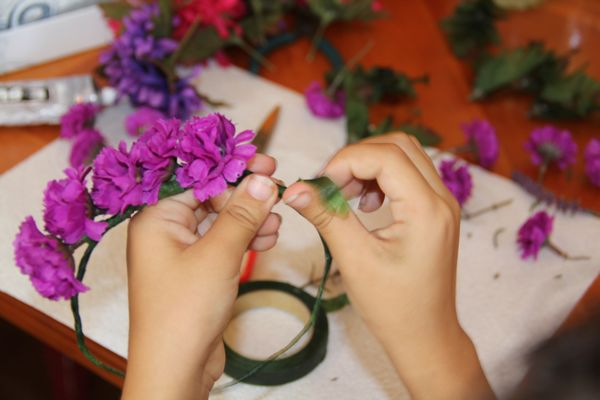
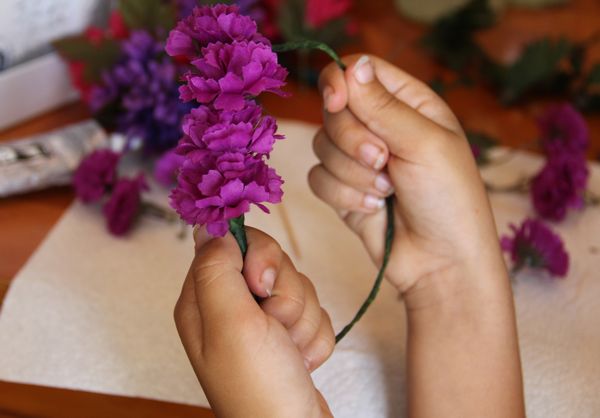
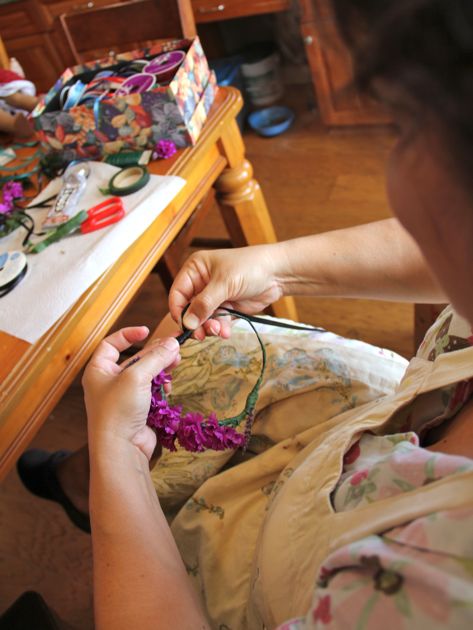
Working from the center and front of the wreath, we placed a flower along the tape wrapped flower, setting the stem faced toward the back of the wreath. Then we start wrapping about 6-7" of floral tape from the flower base, around the wreath, and all the way down the stem.
Remember to pull the tape taut, while holding the flower to the wreath form. It may take a few passes, and let the tape overlap itself to really secure the flower to the wreath form.
Again, this may be a bit much to coordinate. I was stepping in quite a bit with first few flowers, but Maria did get the hang of it.
I don't mind letting Maria know when I find a project challenging, too, and then we feel easier about helping each other, and working through the trouble spots. Sometimes the floral tape twists, and gets stuck to itself, so we would pull that short length off and start over.
No problem! Each flower was laid down, with the stem going toward the back. The we started the second row, from the front and filling in from front to back.
Josefina is a little doll, so we used the smallest flowers, and no leaves.
Once all the flowers were wrapped in floral tape, it was time to wrap the floral tape with a pretty ribbon.
Step 7!
A dabbed a bit of the E6000 to the end of the narrow width, black ribbon, and secured it to the wreath form, just below the last flower, then I began wrapping the ribbon, overlapping it, and going all the way around the form, until I had the whole back of the flower crown covered.
I go back and forth between calling it a crown and a wreath. I suppose it would be more of a "wreath," if we had added the flowers all the way around the form, and then it would be worn on top of your head. Since we only added flowers part way around the form, maybe that is more like a "crown."
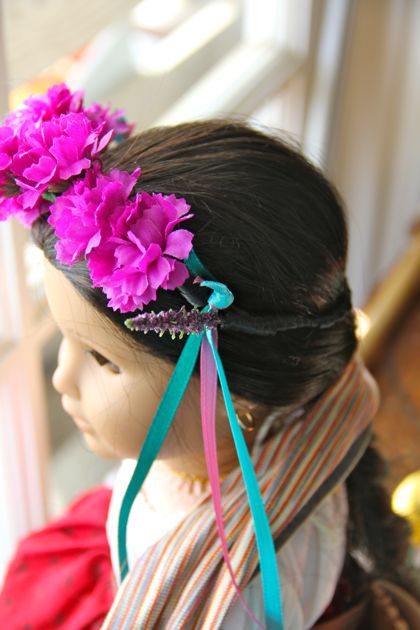
Josefina and her
corona de flores!
Step 8 is all about the finishing touches. Maria chose decorative ribbons that we glued to the sides, just behind the last flower. The ribbons drape around Josefina's face, adding to the festive look of her
corona.
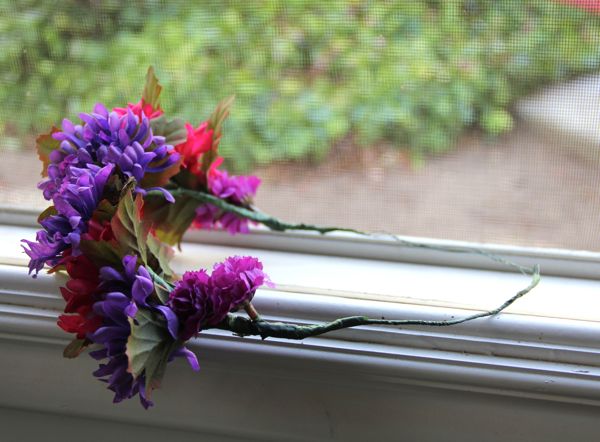
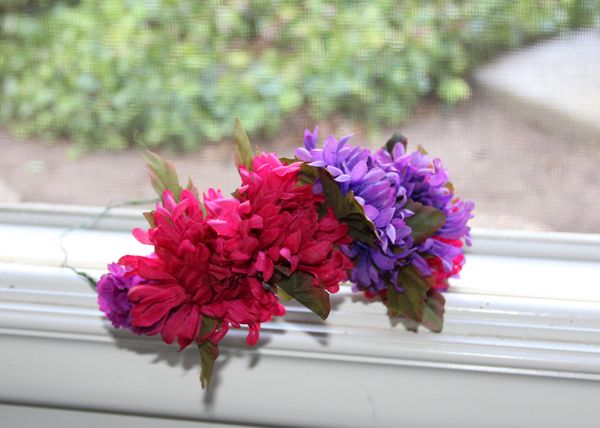
This
corona is for
Dia De Los Muertos... an irresistible Halloween suggestion from my cousin, Rebekah. I can't wait to finish it.
I hope my instructions don't throw anyone off, or read too daunting. It turns out to be a pretty simple project, with not too many supplies. Might be a fun thing to do with friends, on a rainy day!