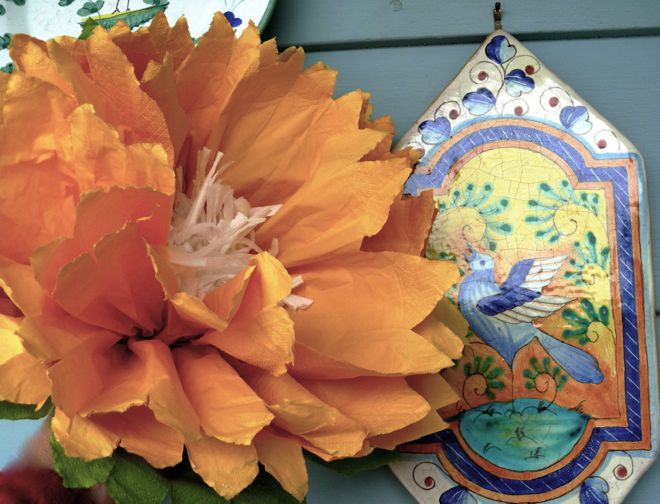
They're big, bodacious, decorative, pollen-free, and fun to make...
paper napkin flowers!
It's been almost four years since I learned how to make these napkin flowers. I had so much fun making them that
that Maria and I invited friends over to make more flowers. We shared them with neighbors for their garden party, and we hung them all over our house. And then we stored away all those extra napkins we had leftover, and almost forgot all about paper flowers, until now.
Now, Maria wants to learn how to make this fun craft for herself. She's older, and more patient, which is helpful when learning new techniques. She thinks this could be a great activity to bring to
Maker Faire, and she wants to teach visitors to the Faire how they can make paper napkin flowers, too! With a little more practice, and the guidance of her club mentors, she will be making bouquets of flowers in no time!

Our napkins came from Ikea. They are large, dinner napkins. I think we should get smaller, cocktail napkins to bring for Maker Faire.
 Maria is lining up four napkins.

We open up four napkins and stack them.

For fancy stamens in the flower center, I cut a napkin into fourths, then fringe cut one fourth, and laid it on the four full size napkins.

Now comes the folding. Grabbing all the layers, fan, or
accordion fold the napkins.

It will be a little trickier if you have smaller pieces, like this green fringe cut napkin in the center, but once you have the napkins folded, cinch the middle, and fasten it with yarn or string, or even a twist tie.

Next, you will want to trim the edges, so that the flower petals will come out scalloped, and curved. An arc will give the petals soft and rounded edges. If you cut points then your petals could look something like a sunflower's, like in the first image.
 Sharp scissors are a necessity for cleanly cutting through all those paper layers safely. Watch your fingers! This was a part that got a bit frustrating for Maria, until I realized that her scissors were small and probably a bit dull. Dull scissors are not as safe as sharp scissors, because dull scissors may slide and skip as you force them to cut. Sharp scissors, used respectfully, work well, and don't cause you to use excessive effort to get the job done effectively, easily.

Here we see a flower
bud. It's been folded, cinched and tied, and the petals are trimmed.

Now for the
blooming! Carefully pull the napkin layers toward center.

These Ikea napkins are sturdy, but they can tear, so be patient, gradually lifting each petal and sculpting the flower into a pleasing form.

With garden roses to inspire us, Maria is helping her flower bloom, by gently pulling the napkin petals toward the center, so the bloom will be full and bodacious.

Here is the blue flower, with those green, fringed stamen.
I think I will snip those a bit and get them to perk-up a bit.

There are all sorts of flowers in nature. I think these napkin flowers are especially effective as peonies, roses, zinnias, dahlias, lotuses, and ranunculi.

In her hair, Maria has a flower for a hat! We simply pushed a hair comb through the yarn that tied the flower in the center, then put it in Maria's hair. It makes quite a statement!

Get your supplies ready, call over some friends, and you will have a bouquet, too!
When our friends started making flowers with us, we discovered even more possibilities and floral varieties. We've shared the basics, but this is a craft to make all your own!


No comments:
Post a Comment