Showing posts with label 3DModeling. Show all posts

Friday, May 22, 2020

Virtually Maker Faire 2020 Tonight!

We are making Personal Protective Equipment at Home... and our Make story is one of hundreds being shared, virtually around the world. As of last night, with San Diego 3D Printing For a Cause, we have made, and donated 10,336 pieces of PPE, including ear-savers, face shields, and fabric masks, since April 1!


Learn our Make story, and many others at Virtually Maker Faire!

Around the world makers have been rallying, rising up to solve shortages in medical supplies and equipment, turning makerspaces into micro-factories, creating self-organized community networks, and developing clever distribution strategies. For our inaugural Virtually Maker Faire, makers representing 25 countries will share over 350 presentations, demonstrations, and online project exhibits. Programming is curated into five tracks: Community Organizing, Learning & Teaching, Re-Thinking the Future, Design & Production, and Making.

Virtually Maker Faire is a stage for makers to connect, share, and learn with each other and a broader public, and show how the community fostered by Maker Faire has sprung into action, using their skills and talents to solve for human needs.

Plan out your virtual day with the full schedule or meet some of our fantastic makers.

Upcoming Session Highlights
Check session pages or the schedule for updated times.
Making a Global Movement in Crisis: the Story of Open Source Medical Supplies
Gui Cavalcanti, founder of Open Source Medical Supplies, will talk about the role of Open Source in the pandemic and how their group documented the global fabrication of over 7 million units of personal protective equipment, medical and community supplies.
View Session

How Making 3D Printers Widely Available Enabled Covid-19 Solutions: From RepRap to Prusa
Maker Faire Founder Dale Dougherty will talk with RepRap's Adrian Bowyer and Josef Prusa of Prusa Research about the rise of 3D printing and how getting 3D printing in the hands of more people enabled so many of the PPE solutions from the maker community, including developing and testing the Prusa Face Shield and its spread around the world.
View Session

DIY Heroes: Meet the Makers Featured in Make: Vol. 73
The new issue of Make: magazine looks at the maker response to the COVID-19 pandemic. Join Make:’s Executive Editor Mike Senese and the editorial team as they discuss the new issue with the various subjects that are profiled in its pages.
View Session

Pivoting in the Pandemic — Adafruit NYC
Adafruit founder Limor Fried will talk about pivoting production smartly and safely during the pandemic, from making face shields to essential electronic components as their home town of New York City became a hot spot for the virus.
View Session

How to Use Social Media as a Maker Portfolio
Panelists Ana Karen Ramirez, Estefannie Explains It All, Jen Schachter, and Xyla Foxlin will discuss how to leverage social media to showcase your work, create your own maker community, and give a glimpse of the behind the scenes of your processes.
View Session

ArcAttack's Tesla Coil Music
Tesla coil music live-streamed from ArcAttack’s shop as a Grand Finale to Virtually Maker Faire!
View Session

Wednesday, May 20, 2020

Making Personal Protective Equipment & Plan C

Together with San Diego 3D Print For a Cause, we have been developing, manufacturing, and distributing Personal Protective Equipment to healthcare facilities, since late March. As of May 13, in 42 days, with 28 dedicated volunteers, here is what we have achieved...

Delivered 8,616 PPE articles, including 3,261 face shields.
100+ hospitals and clinics have received PPE, including facilities in California, Arizona, Colorado, Georgia, and the Navajo Nation.
Thanks to additional volunteers, 425 sewn masks were made and donated. And! These masks can be ordered at SD Print 4 Cause.


Maker Faire, with Make Magazine, is hosting a global, virtual Maker Faire, on May 23! We love making and sharing, and we are eager to see as many of the entries as possible, in 24 hours! We are particularly interested in Make Magazine's highlight: Plan C From Maker Space: "Comprehensive coverage of the community response to the Covid-19 crisis." And we are going to share our own process and efforts in casting PPE, which includes research, setbacks, prototyping, learning, tinkering, and successes... the usual Make journey, with higher stakes.

Making PPE, at home, while doing all of our usual jobs, like programming, schooling, gardening, chicken wrangling, goat herding, cat grooming, cooking, cleaning... It's a lot! We would like to document all of our work, with tutorials, and we need to create some kind of exhibit-virtual presentation for Maker Faire (yikes). In the meantime, if you'd like an idea of what we have been doing, please look for us at Instagram, @boomNerds, and follow our volunteer friends, where we post on FaceBook as "San Diego 3D Printing for a Cause & Friends."

Please! Our work is urgent and meant to save lives...
if you can, Follow, Like, Share, Donate,
we would be so thankful!
Support helps and we appreciate all of it!
Thank you.


Wednesday, August 30, 2017

Making for a Masked Ball

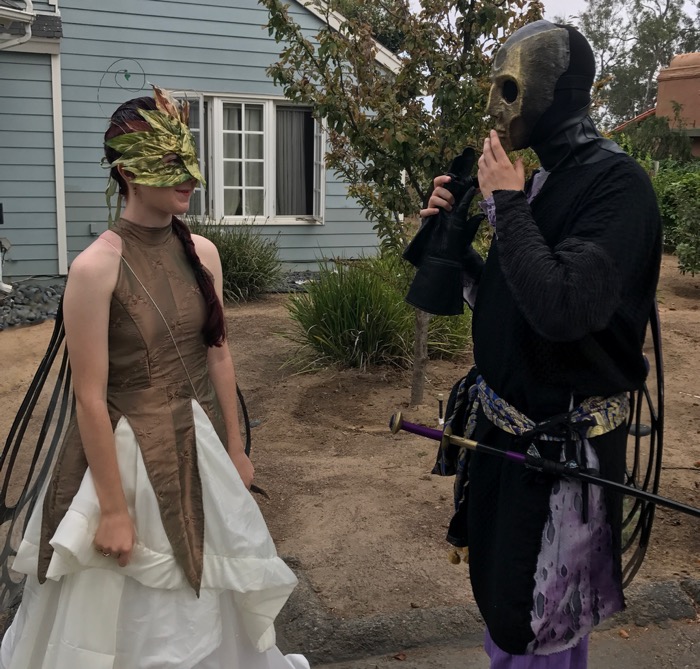
Alex and Bambi made costumes, including masks, and props, for the Labyrinth of Jareth Masquerade. From the Masquerade website... "Costumes fitting our theme are required. Imaginative costumes highly recommended." They were designing, sewing, sculpting, cutting, gluing, painting, researching, and happily anticipating this moment, and the event ahead, for days and days.

Sewn into the fabric of Bambi's dress are tiny LEDs that light up and twinkle, like fireflies.


Costumes and props are finished, they have their forms and driving directions... so off they go!

Here are some glimpses of the making of costumes, masks, and other details... and if you like sewing, design, art, robots, cosplay, STEAM education, electronics, programming, 3D printing, CNC routing, woodworking, metalworking, all kinds of making, please follow BOoMNerds on Instagram! Thank you.

Alex is always carrying around one, or more, sketchbooks. And they are full of concepts, designs, tests, ideas, and beautiful art.

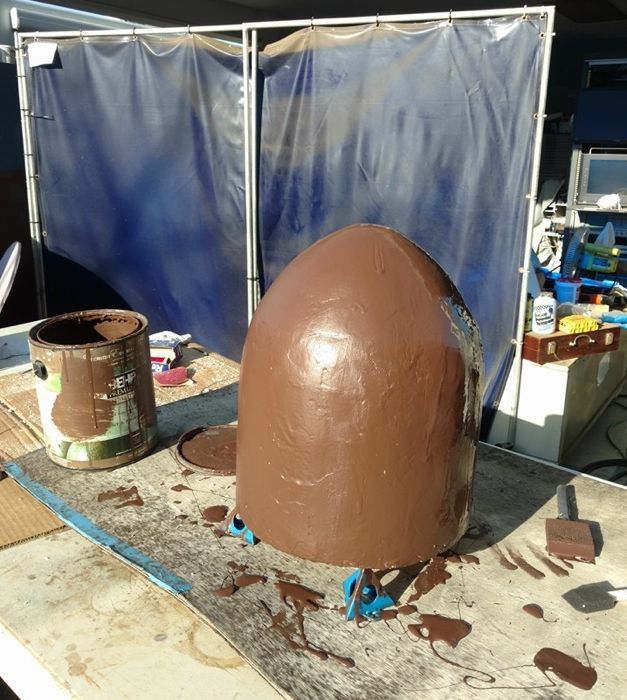
His masks begin in a sketchbook, then move into plaster, which he can use to build a custom fit. Then comes sculpting the modeling in clay, in this case, so he can vacuum-form the actual mask.

The texture of the vacuum-formed plastic has a great effect, so Alex didn't bother sanding it, and went straight to the paint.

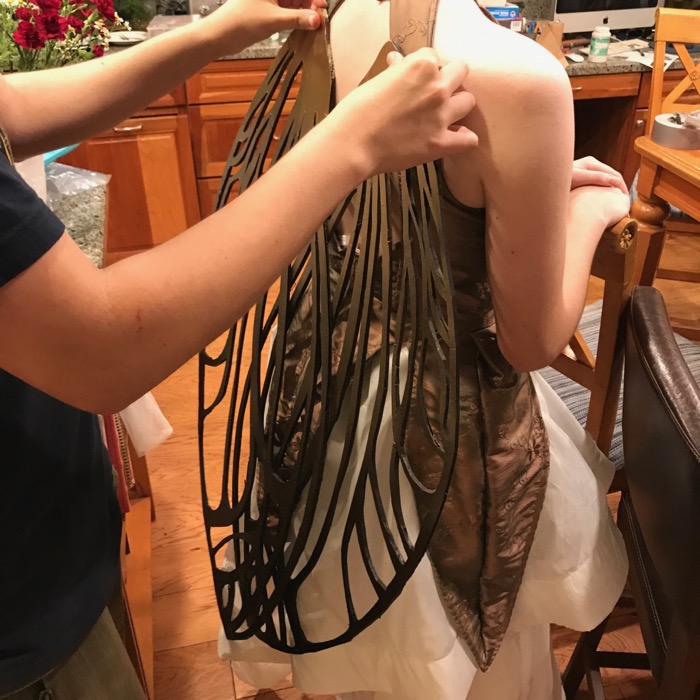
A lot of testing and experimenting went into the wings. These, Alex modeled after the wings of a cicada, and he hand-cut them from foamcore... the same handy material William used to make Prince Phillip's shield for the Sleeping Beauty musical.

Drying rack... which happens to be a box William is constructing for one of his skeletons, but that's another story.

These are Bambi's finished wings! Alex is testing them for placement on her dress. Bambi designed and made her dress. We need more pictures... I want to show, between all the layers of tulle in her skirt, the fireflies!

Alex designed his outfit, too, and he and William sewed it.

Also out of Alex's sketchbook and research, came the designs for this prop sword. Alex handed his drawings over to William who modeled 11 separate parts, including this handle and pommel, in 3D Studio Max, MudBox, and MeshMixer (Autodesk, whenever you would like to sponsor our club, Benevolent Order of Makers, we would be honored.) The parts were 3D printed from William's renderings, glued together, sanded, and painted. The cool part... it's a handle, with a jewel glued on, and a scabbard, but there is no actual sword. It was made to safely pass through security without alarming anyone. A thorough prop prop.


Alex twisted the wire detail to go around the glass jewel, and finished the prop by wrapping Pearl cotton around the handle and a section of the scabbard. You can also see the sash William sewed.

This is the beautiful mask Bambi made. I love the floating jewels. There are more parts, more details... and we're still cleaning up! The creativity is wonderful, but the collaboration is what really excites me. It's exciting, too, to hear them talk about how much they learn with each new project, and how much it inspires them for the next project.

Thursday, December 8, 2016

We Are Making Arts

No one has seen the dining table, for weeks! We've been making art.

Alex is applying glaze to the ceramic forms he made. With this fine point stylus he discovered in a classroom locker, he can add elaborate illustrations and details to the sculpture he is making.

Back in November, Alex was sculpting the forms that he's glazing, now.

And in November I was busy, too, designing shapes to make little shelves. William offered to take my drawings, and add them to software for operating our CNC router, Frankenrouter. It sounds simple, but it's a lot of work, and he adds his own attentive consideration to the process, including layout, formatting, scale, and measurements. I feel so lucky to have his thoughtful skills and own artistic perceptions to help me get things done.

Then comes taking what William finished, and loading it into Mastercam... a notoriously fickle, yet indispensable operating system for CNC milling and routing. Now we have three artists and makers on my little project. I never underestimate the time and frustration some of my brilliant ideas can command! Fortunately, Geoff relishes a bit of tinkering and puzzle solving. His unique skills are always in demand, and much appreciated.

Maria, Emma, Amira, and Sarah~

When we celebrated Maria's birthday, it didn't take much more than paper and markers to make the party fun. Artfully so.

I love this collaborative, engaged activity... how it evolves and is interactive, but also spontaneous. Sometimes, art can be private and personal, need it's own space, but there is something energizing and stimulating about sharing space, too. The exchange affords opportunity for developing new skills, new ideas.


Thanks to William and Geoff, my little shelves are cut, and glued, and now, I sand. And sand. And sand. I actually enjoy this part.

And this part, too! Painting my cat shelf with a chalkboard surface paint! These little shelves are for holding tiny things, and are completely inspired by the ones I saw in Lauren's home. Of course, I slipped in another New England mention... the goodness has become ingrained in me!

Besides sculpting and ceramics, Alex is painting, drawing, working on his life drawing. And I would love to post more on this, but, to quote myself, "Sometimes, art can be private and personal, need it's own space." For now, just this peek.

Just before her birthday, Maria turned a corner of her room into a gallery, with her own work, and friends'.

Wednesday, June 15, 2016

Taking Flight :: Making Masks

Benevolent Order of Makers is proud to share these excerpts from the Utah Ballet production of Hansel and Gretel, featuring the crow masks designed, developed, and built by Alex Van Valkenberg.


The order was for masks that were form fitting, stable, but comfortable enough to wear while dancing, and with beaks that could not only open and close, but also pick up breadcrumb props in a ballet. Fortunately, for Alex, he knows a very good ballet dancer, and he consulted with Bambi about measurements, and other specifications and recommendations she had. Most manufactured masks are either very small, like for a child, or rather large, for bigger adults. These masks were specifically measured and scaled with the proportions of a ballerina's size kept in mind. Maria and Bambi were helpful models and testers for this purpose. During testing it became apparent that air holes for ventilation were necessary, the elastic bands were modified for improved fit and function. But these details were what followed the elaborate process of making the basic mask forms...

Everything began with Alex's research, and drawings. He took his concepts into the computer and fine tuned them in Autodesk Mudbox. What he made were designs for a wood mold. The wood mold was cut using our homemade CNC router, Frankenrouter. This picture shows the two layers being glued together.

Here the face mask is being sanded and prepared to be put into a vacuum former.

This is the ABS vacuum formed face mask, and Alex is cutting it out for finishing.

Each part of the beak was made in the same way as the face portion, but in separate parts, both due to the limitations of the router, and the vacuum former, and so that they could function with the design to open and close.


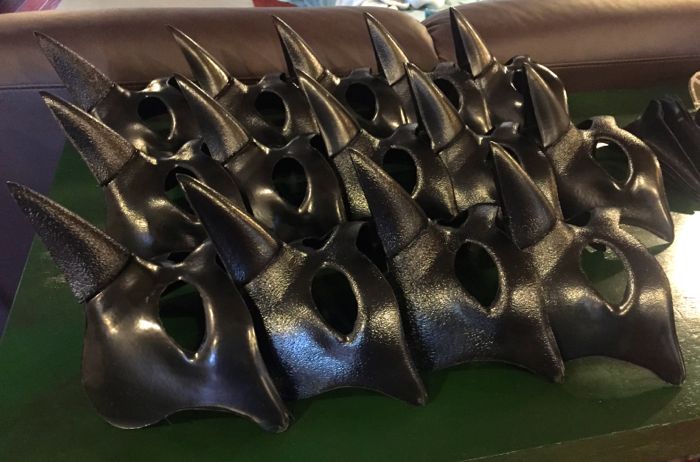
A total of fourteen crow masks were made for the Utah Ballet.

Here they are, about to be shipped. In Utah, they were finished with details by the costume department.

We see this not only as a job well done by Alex, but as the culmination of years of study, practice, experimentation, and artful design by Alex. His diligent pursuit of engineering, from concept art to completion of robots for competition, and art for public enjoyment has been practiced with creative imagination, as well as an instinctive understanding of mechanics and engineering.

Alex, congratulations on the successful completion of this custom order. It's a pleasure to see both your art and your engineering skills applied to such a clever and beautifully finished product. Your career is taking flight! Bravo!


Sunday, May 29, 2016

Make BIG Puppet Robots

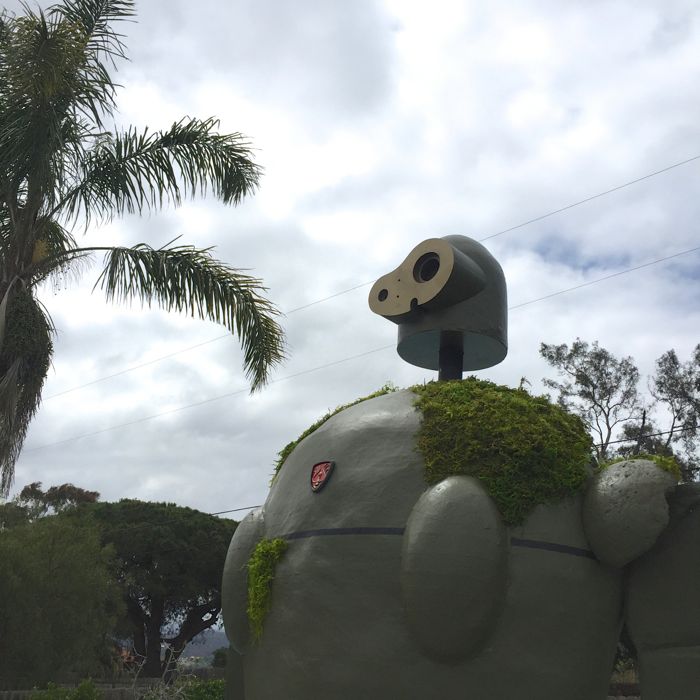
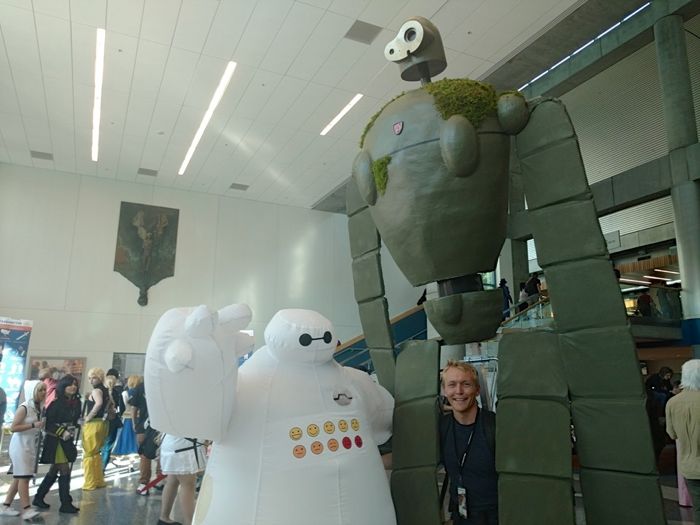
The second Laputa robot, this time the one from the Laputan garden, is finished and visiting Fanime!
We love every new picture and update Grant shares from Fanime, where he's the Laputa robot from Castle In The Sky, a Miyazaki creation, like Kaonashi... the No Face spirit.

This grand cosplay project began with Grant last year, and has been supported by BOoM with William, Alex, Geoff, Clark, Maria, and Natalie. The last time we checked in there was a form built to create the paper mâché torso, and Geoff had begun welding parts for the aluminum frame. Here is an updated Make post about building the second robot from Laputa...

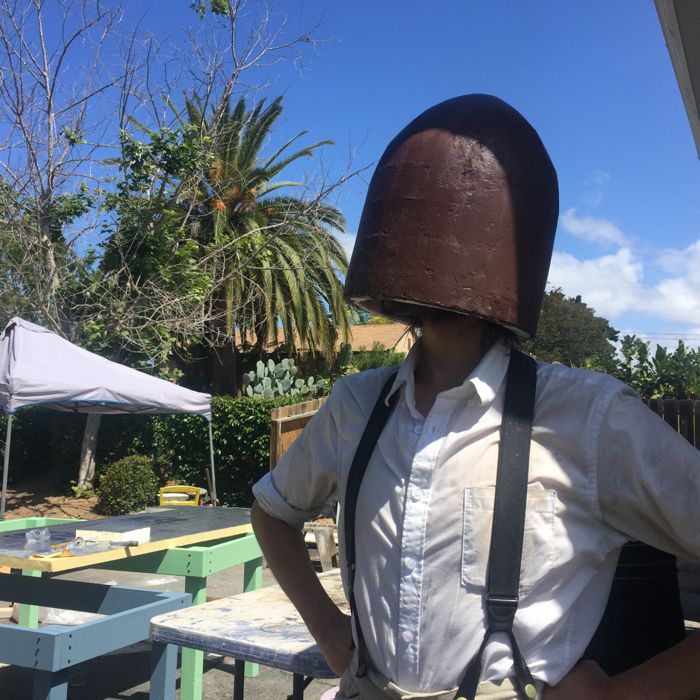
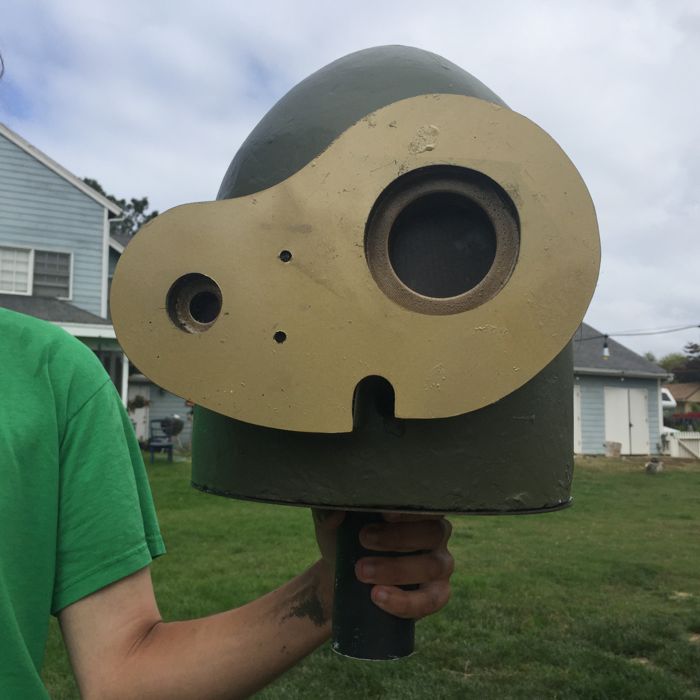
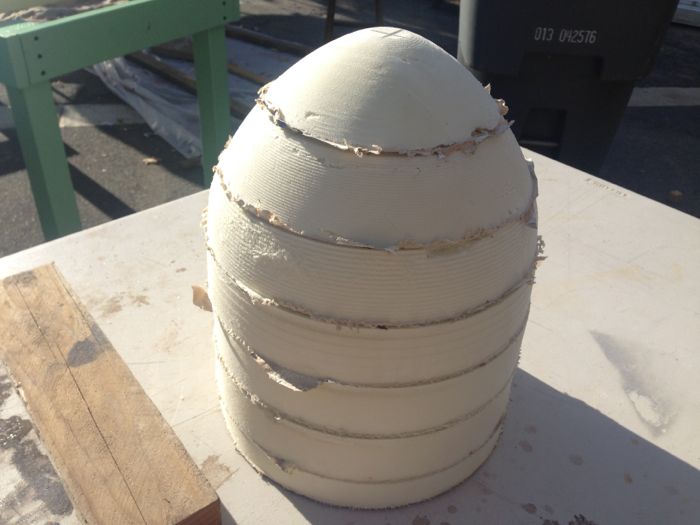
The first head was solid foam, and heavy. For this second head, William modeled the form using 3DMax, then let Frankenrouter CnC each layer. This made a hollow, and lighter head.


Light and hollow. William using his head!

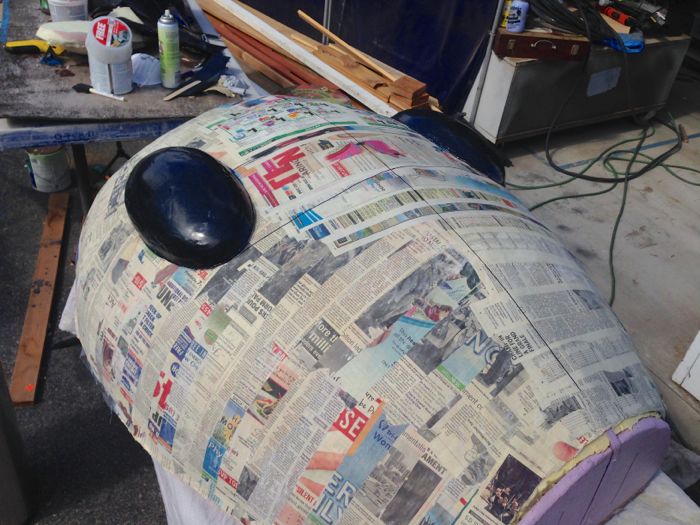
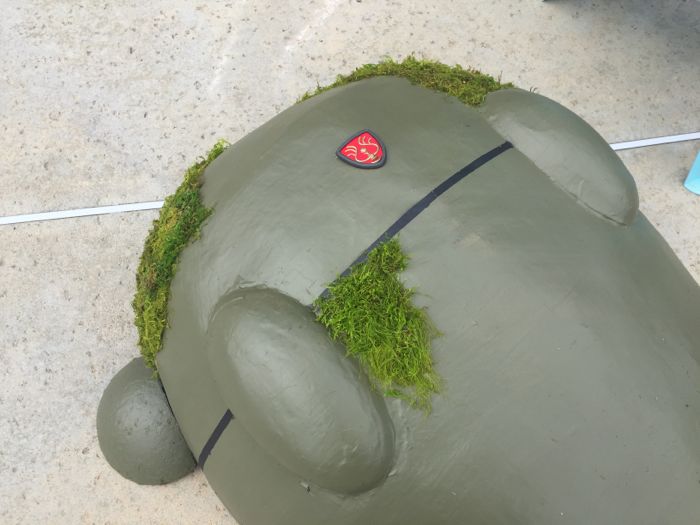
Here is the robot's chest, in paper mâché... you can see the foam form beneath the paper torso.

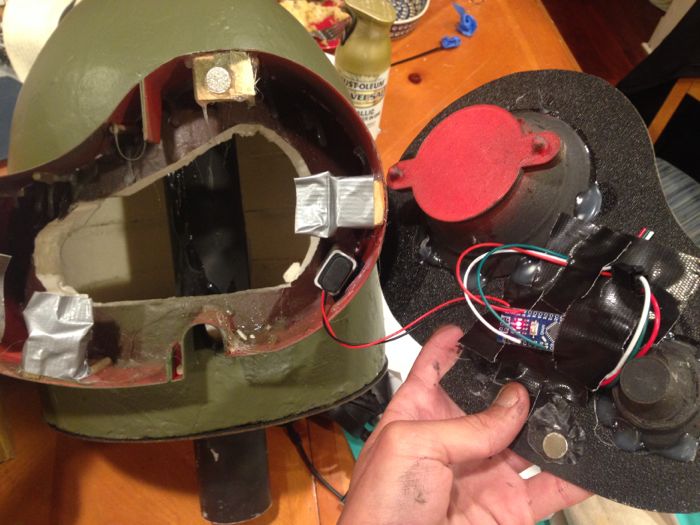
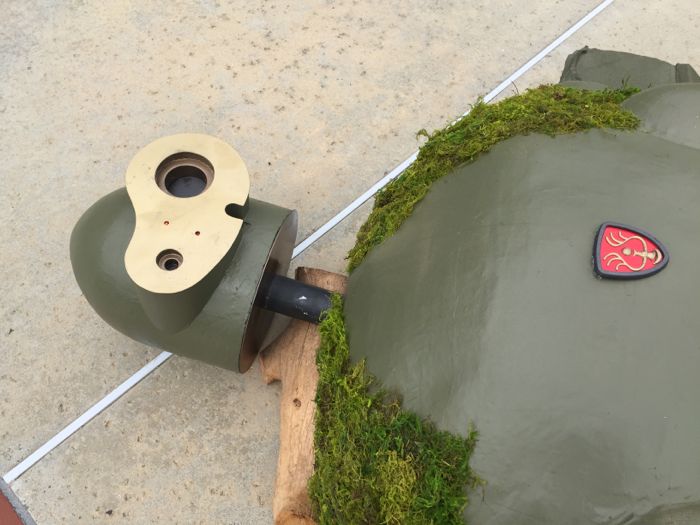
For the face plate on the robot's head, William modeled parts on the computer, then ran those designs through the 3D printer. This new design was made with holding electronics in mind.

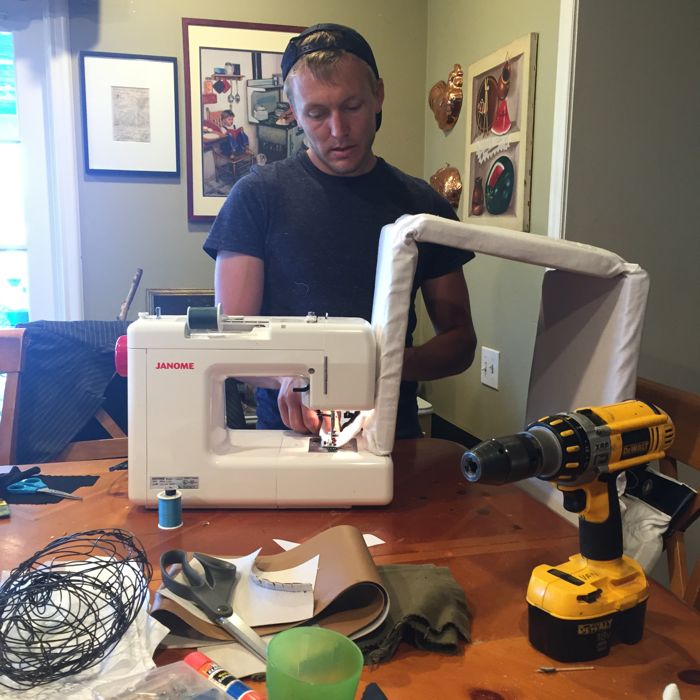
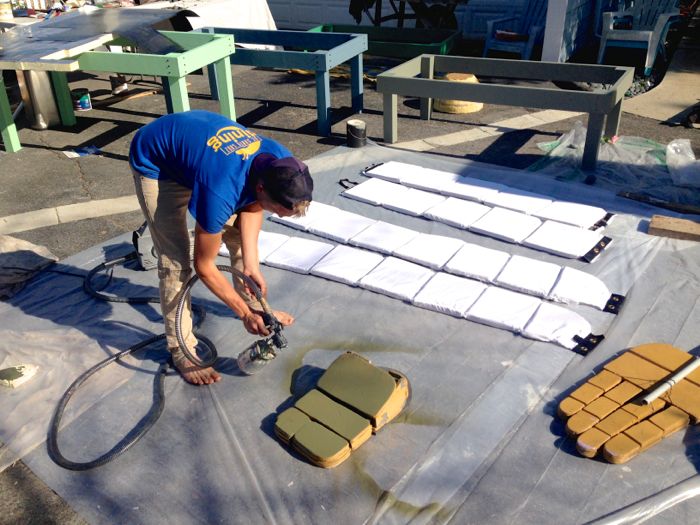
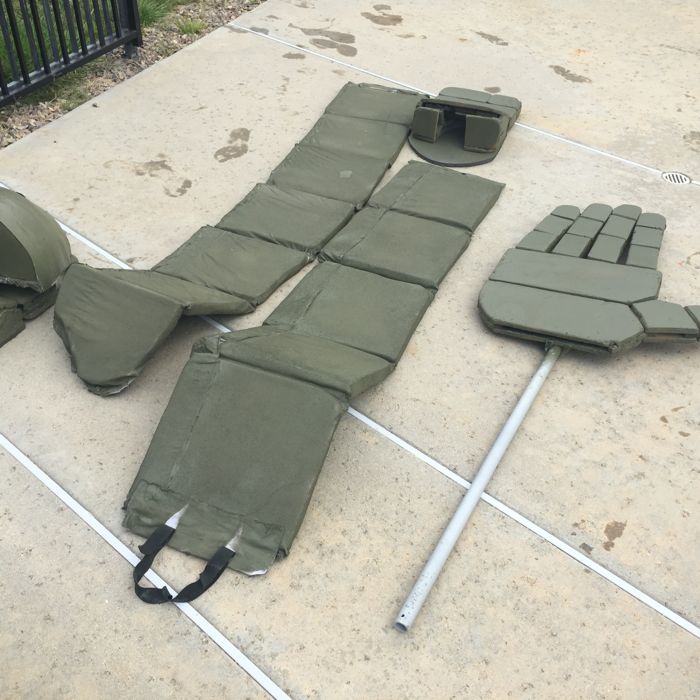
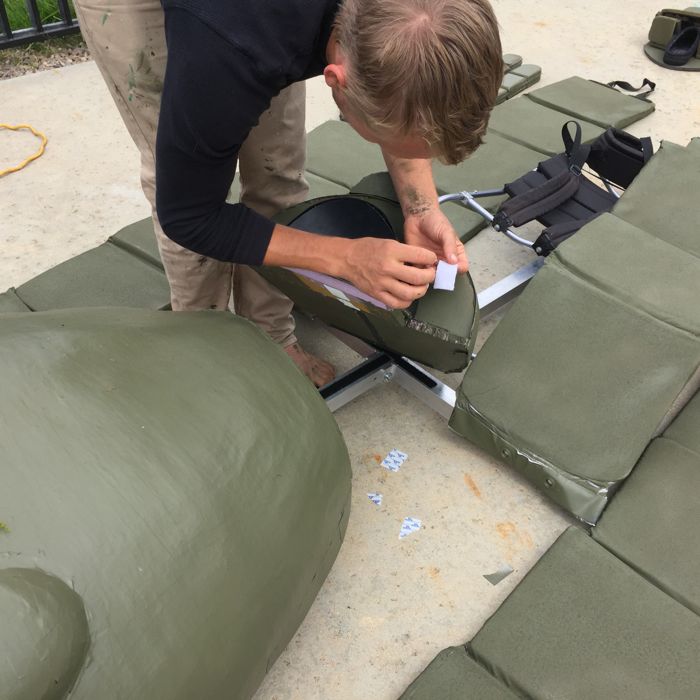
Another development in the second robot was to make sleeve cases for arm and leg segments. This improvement made the arms and legs stronger, more flexible, and easier to manipulate like a puppet. Muslin was cut, then sewn with separate compartments for each foam segment.

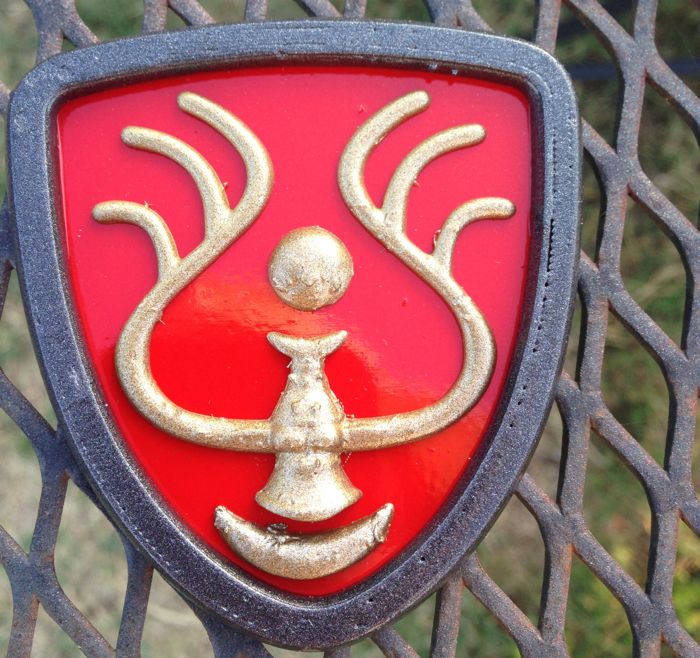
More 3D designing and printing by William. This will be the robot's badge.

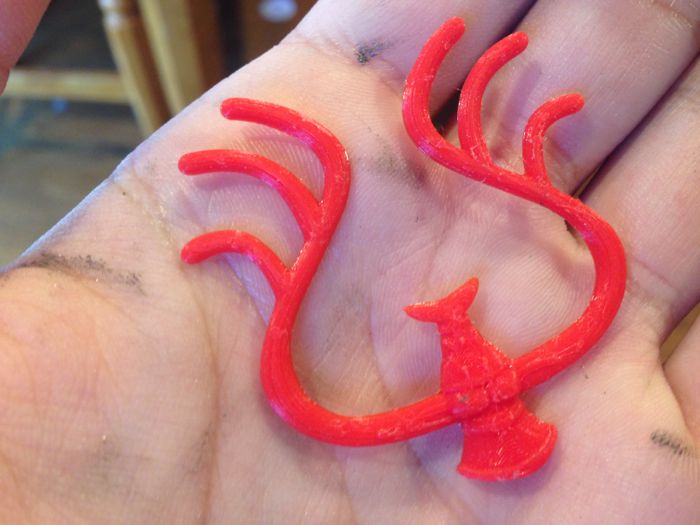
This is the crest that is on the Laputan badge. William created it on 3D Max, and then 3D printed it.

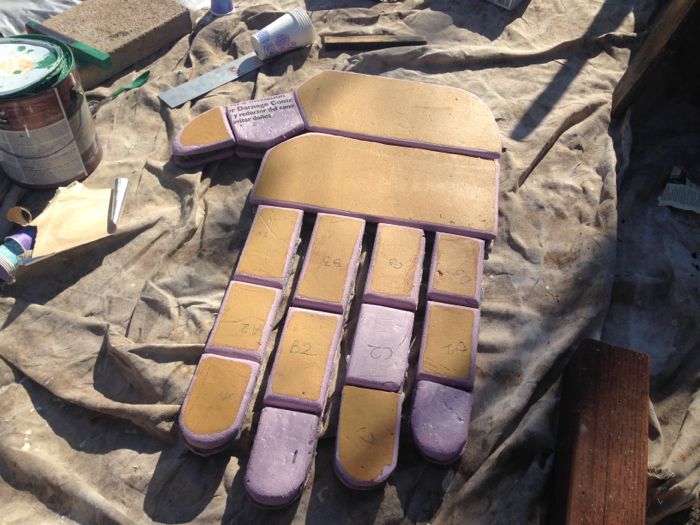
The garden robot has two full arms, without the spikes of the warrior robot. So, they made new arms and a second hand.

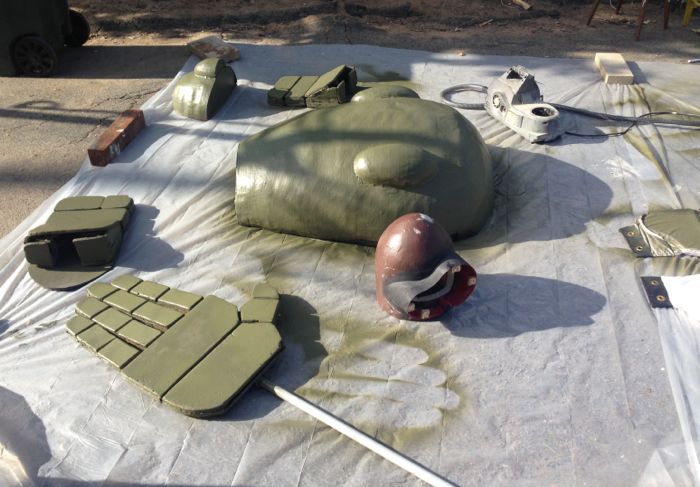
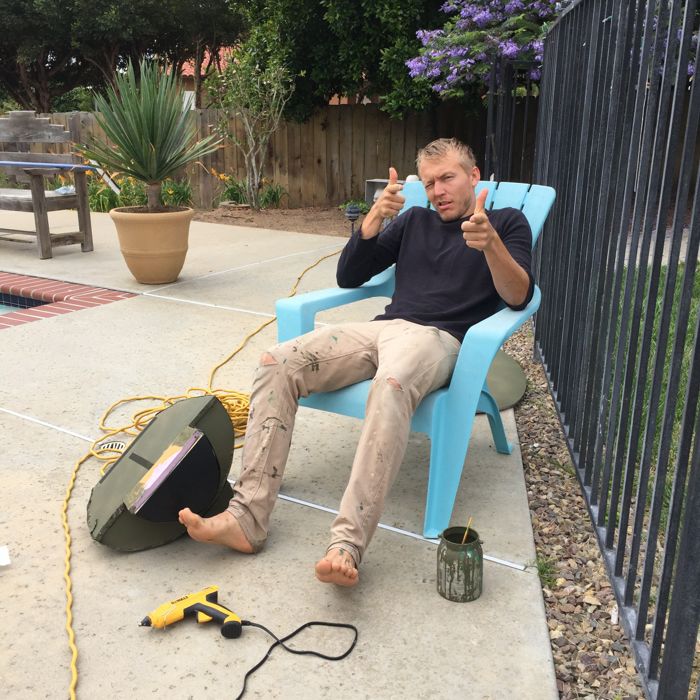
Painting time! The budget is small and tight, and we feel thankful when we can score a bargain, like finding just the right color by mixing all the leftover house paints from the garage.

The ideal shade of Garden Robot Green.

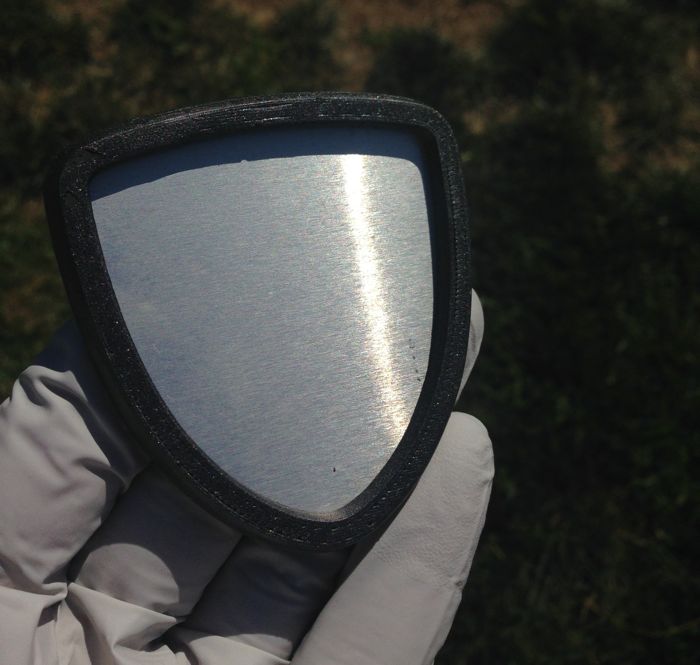
The surface of the badge is aluminum, and the frame and emblem are 3D printed, then finished.

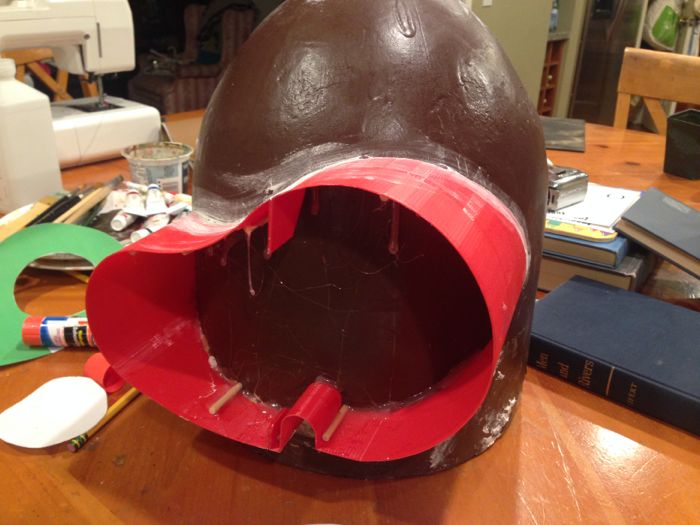
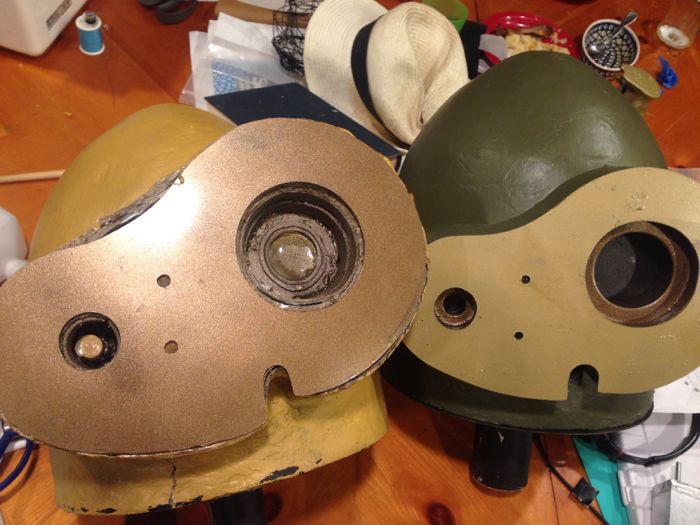
Last year's head next to this year's model. Now there is room behind the eye plate to add electronics.

Inside the eye plate, William rendered plates and coverings to make the eyes, and add supports for Geoff's LED lights. Geoff programmed the lights to flash in the same sequence from the fox squirrel scene in Castle in The Sky. William made a slow motion screen capture of the scene, so they could replicate the light pattern.

Thank goodness for this lighter head, with it's special features and adaptations. Along with the new frame Geoff welded, the whole robot puppet weighs less, and is stronger, more stable than Version I.
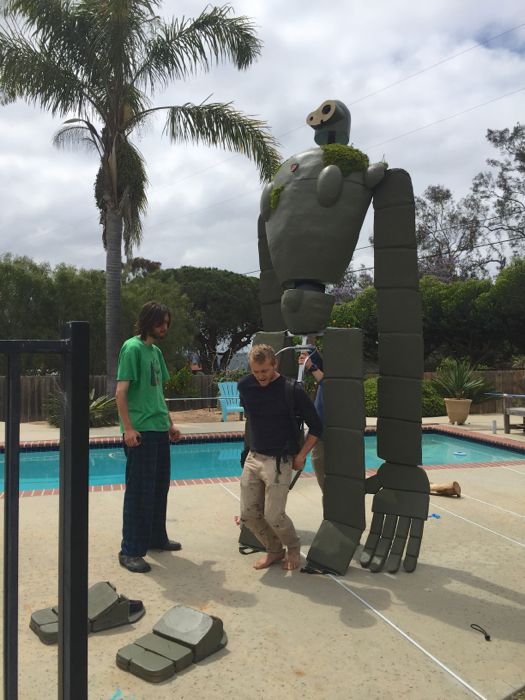
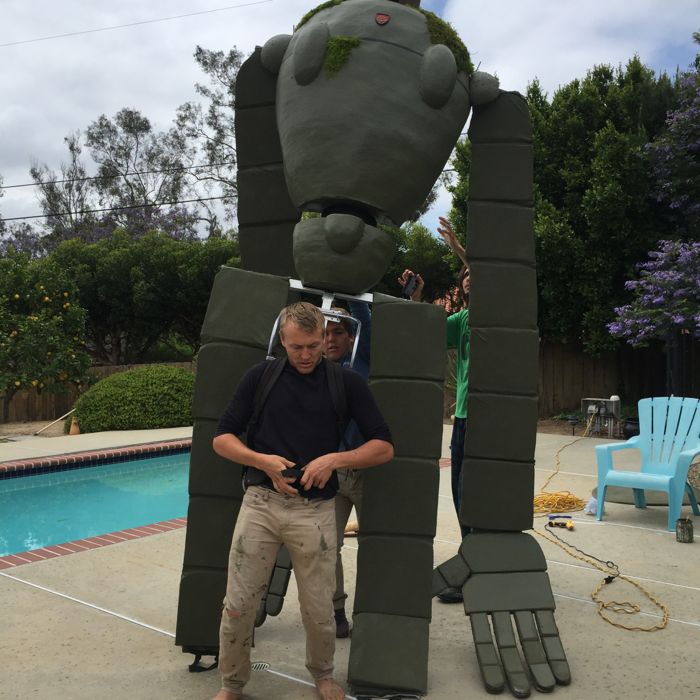
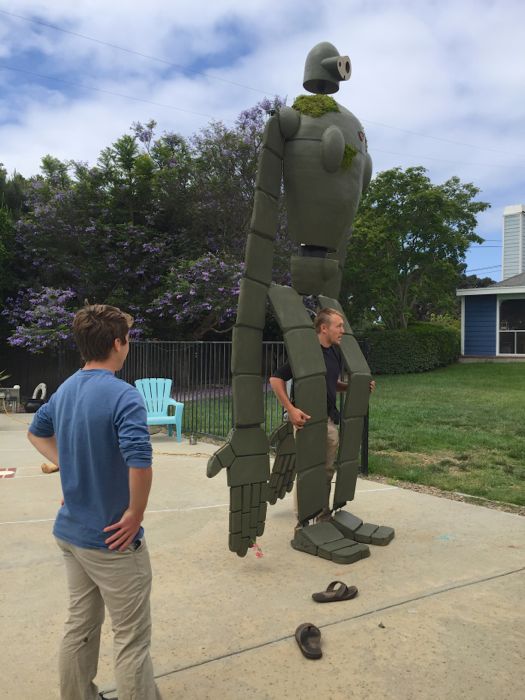
Before Grant left for Fanimecon, Clark and William helped Grant do a test run, assembling the parts, and trying it all on.

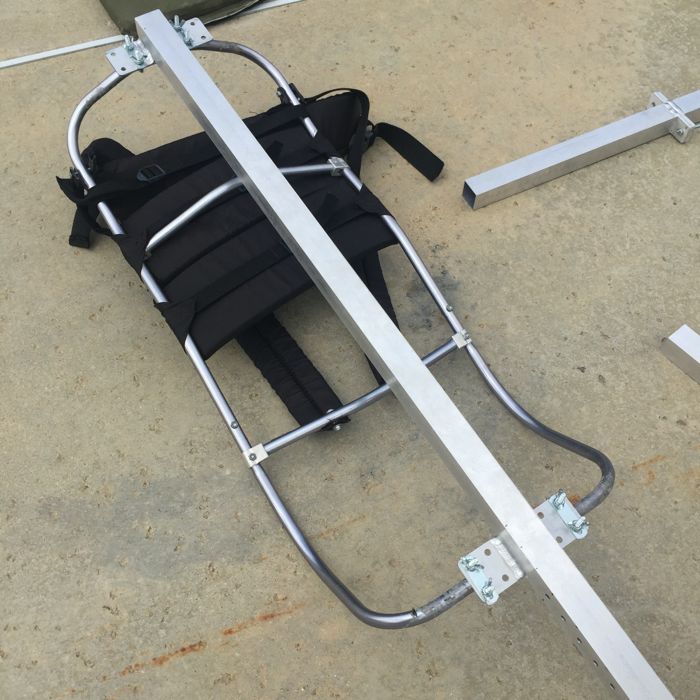
The aluminum frame comes apart for easier transporting. It attaches to the backpack frame, which Grant wears. With this design Grant is able to act as the puppeteer, moving and animating the big robot.


A little troubleshooting to get the pelvis section secure to the frame called for more Velcro, and more hot glue. But, confidence is high! This was Thursday, the day Grant and Suki would get to San Luis Obispo, and the next day to San Jose.


Bringing everything together... much easier with friends. Check out the feet, too. This version is designed and built so that Grant slips his own feet into the robot's, and now he can walk in the robot's feet!
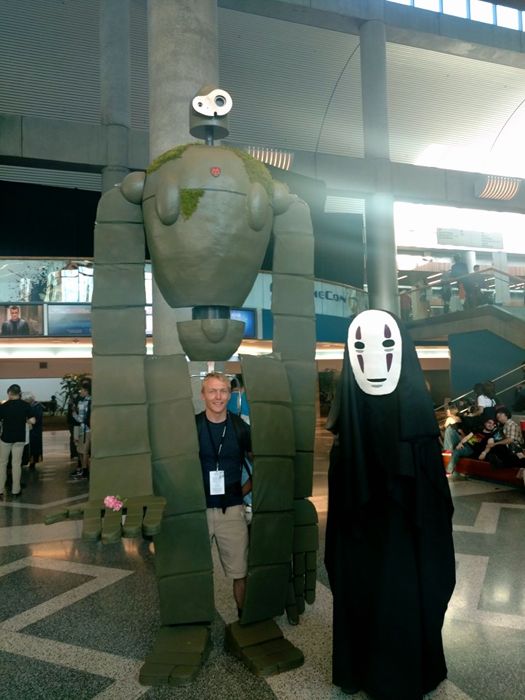
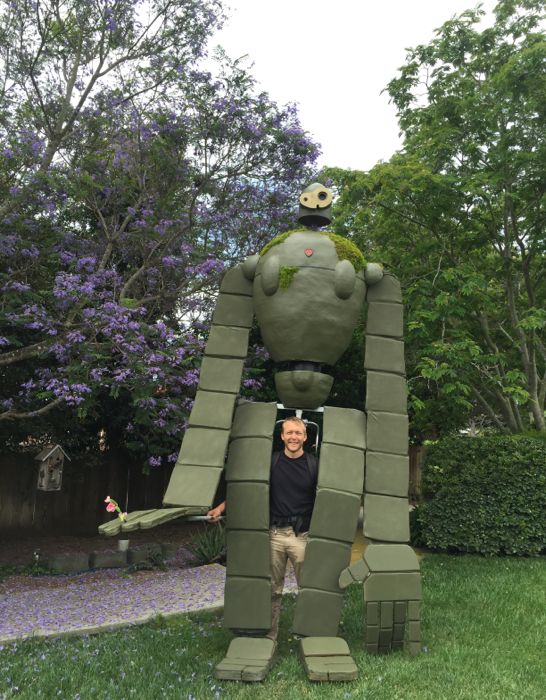
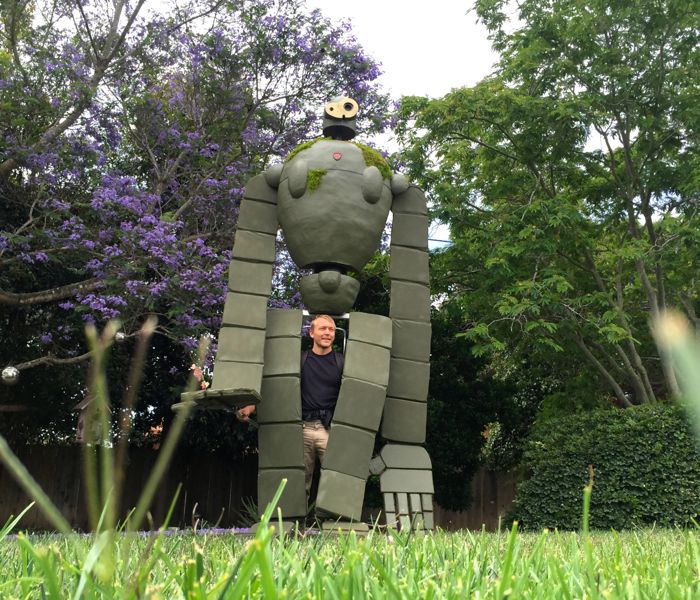
A twelve foot tall gardening robot. Beautiful.

Securing all the parts, and admiring the lighter weight, and more stable design.

Clark looks on as Grant slips into those feet.

Feeling the success! The robot looks fabulous in the garden!

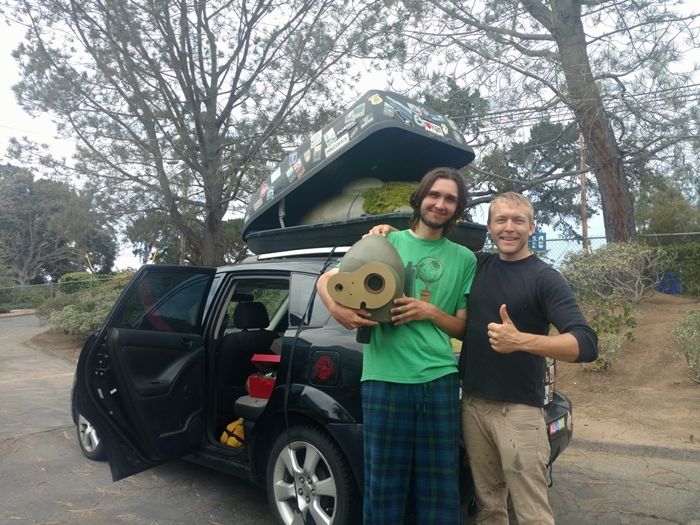
Even transportation was taken into account when designing Version II, and the torso fits perfectly in the roof carrier, while limbs accordion nicely and fit in the car. Grant is clear for take-off!

Back home we were thrilled to see the first share from Fanime! Big Bots! Great making, BOoM!