Two years ago Maria and I started playing with paper clay, making tiny mushrooms. Those
first creations were planted in tiny pots, and made into gifts. Maria and I made little houses, trees, and gnomes, too. The next year I made
larger mushrooms, with doors, and smoking chimneys. Paper clay is easy to work with. It dries quickly, paints easily, and even when parts come apart, a little white glue fixes everything. This holiday season we've moved into new themes, adding our mushroom collection to
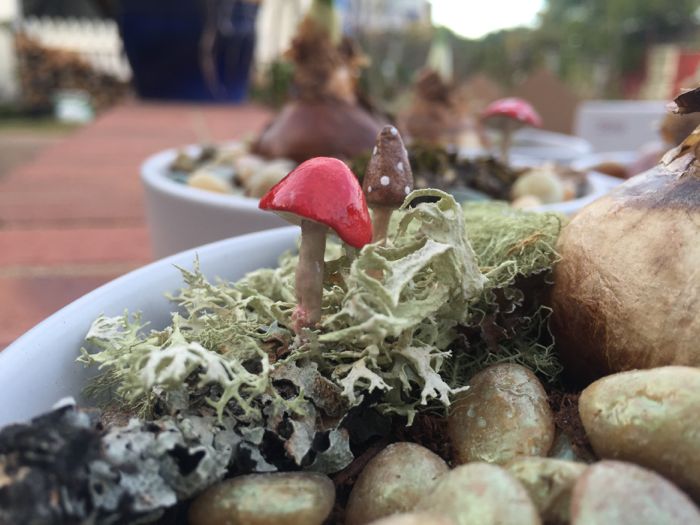
terrariums, and miniature potted gardens. With natural moss, twigs, and lichen, they add whimsy, charm. We gave so many away, I was eager to replenish the stash.
These mushrooms, gnomes, trees, and houses are easy to make, fun, too. There are very few supplies to gather. It only takes some time and a bit of patience to make tiny garden accessories. Maria and I have seen a lot of fairy garden pieces in gift shops and nurseries, but we still think these homemade ones are the most charming! We hope you will give this craft a try, and share your results with us!
Supply List
1.
PaperClay... we found ours in a craft shop. After it's open, it will dry out easily, so keep it in an airtight bag. Also, one package is plenty, when making these little crafts; I've never run out.
2. Straight pins. I had an old box, found in a thrift shop goody bag of sewing supplies.
3. Elmer's white glue
4. Acrylic craft paints... satin and glossy are nice.
5. A bottle of gloss glaze, to seal the painted project.
6. Small tipped paint brushes.
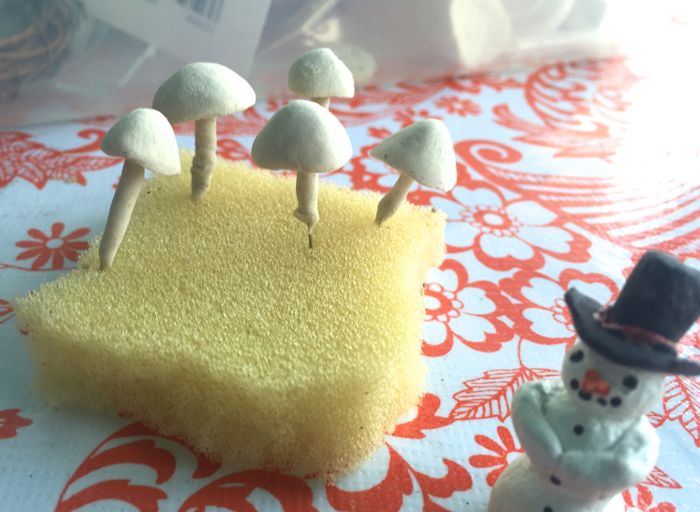
7. Foam to hold the mushrooms while they dry.
8. Tooth picks.
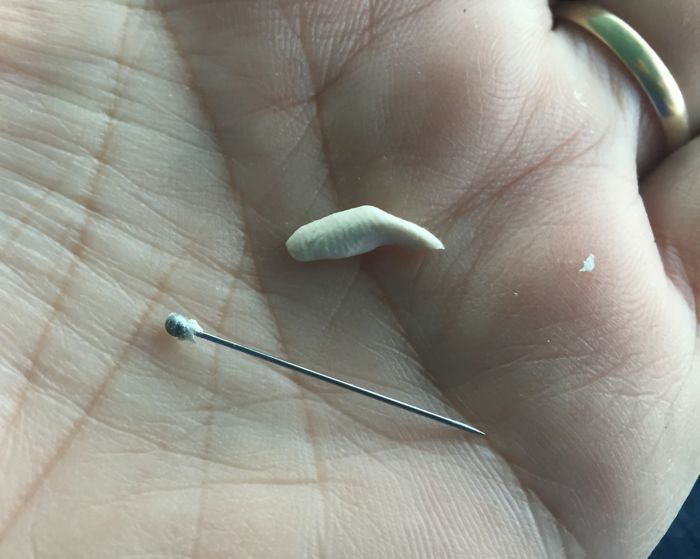
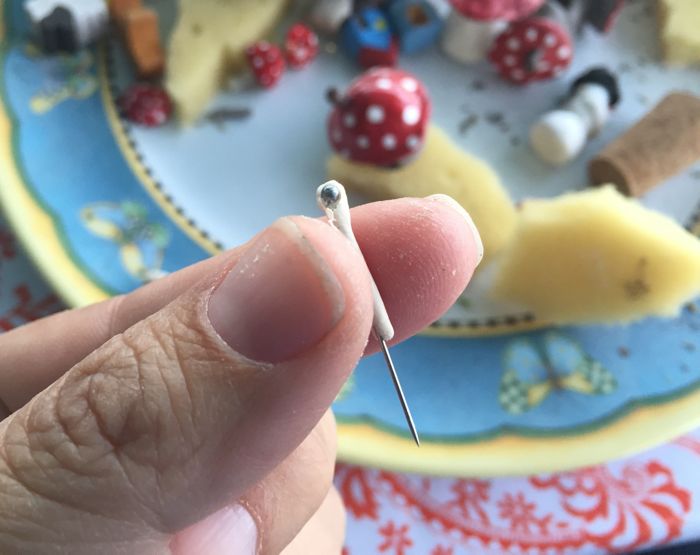
The straight pin, and a pinch of paper clay. I lay the pin on top of the clay...
think of the pin as a sausage on a bun, and the clay is the bun. With my palm open and flat, I gently roll the pin back and forth, until it is wrapped in the paper clay.
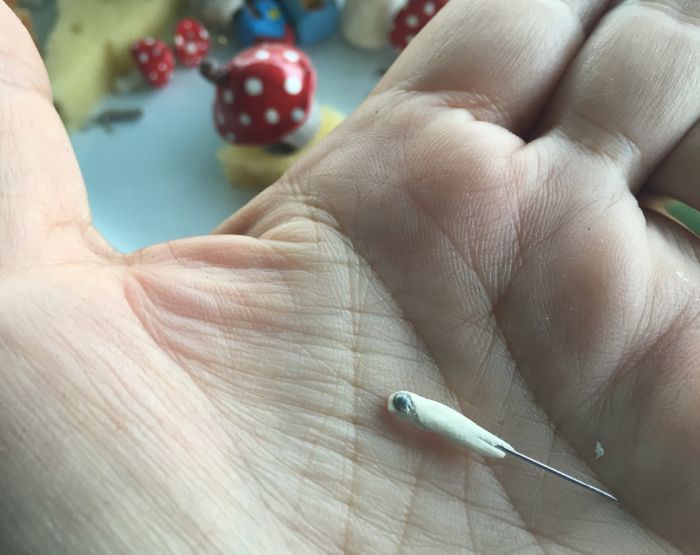
This needs just a bit more rolling, so the head of the pin is covered, too.
It can also be rolled between finger and thumb. Make it pleasing, but there's no need to be overly obsessed with the details, since it will be handled more, and the soft clay will keep changing with handling until it's finally dry and hard.
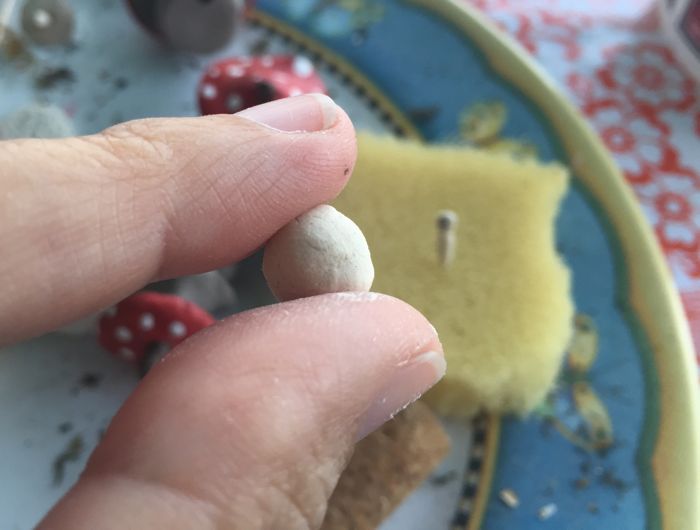
Next roll a small ball of paper clay for the mushroom cap.
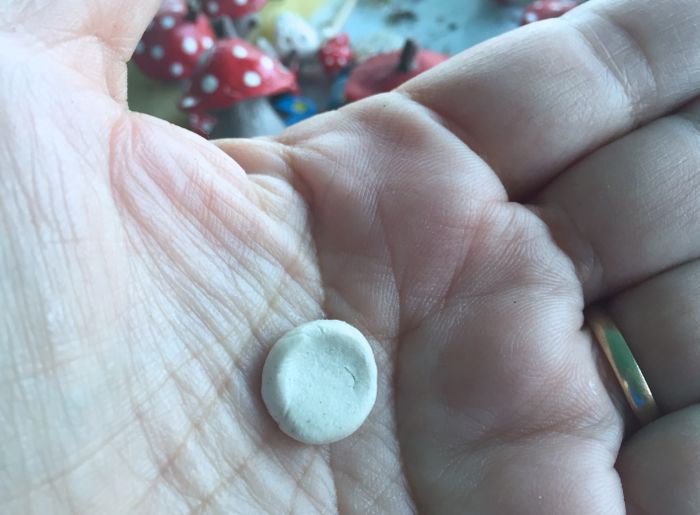
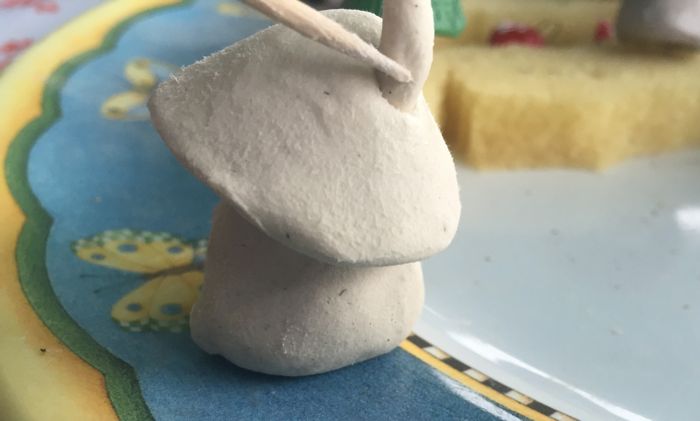
You can flatten the ball of paper clay, to make an umbrella shaped mushroom cap.
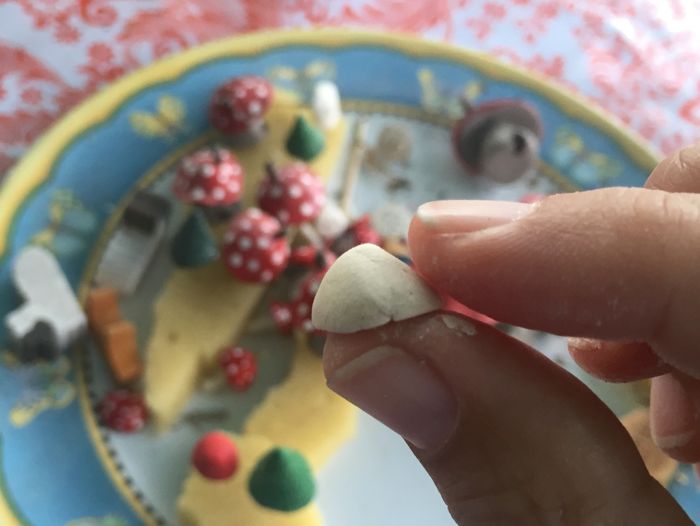
Or turn and pinch the ball of paper clay to create a dome, or rounded chocolate chip shape.
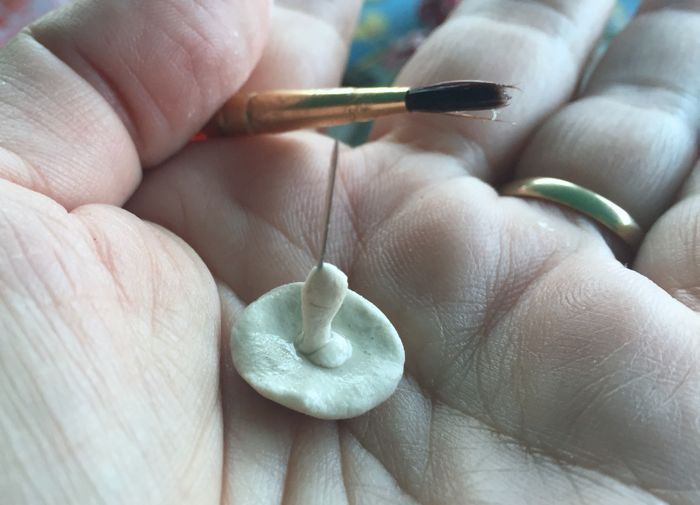
Now, stick the pin-head mushroom stem into the underside of your mushroom cap. You want to blend the two pieces together, so they dry as one piece. If the clay is cracking, then your hands are too dry... dampen your hands. It also helps to smooth out the piece with a barely wet paint brush. I also use the wet brush to gently unite the stem with the cap. A toothpick works well for this part too. In tiny strokes, drag the clay from the cap around the stem, then you can use the wet brush to smooth any lines.
Play around with the shapes, and sizes... you'll soon find a look you like, and see how easy the paper clay is to work with. And remember: Do-overs are always an option!
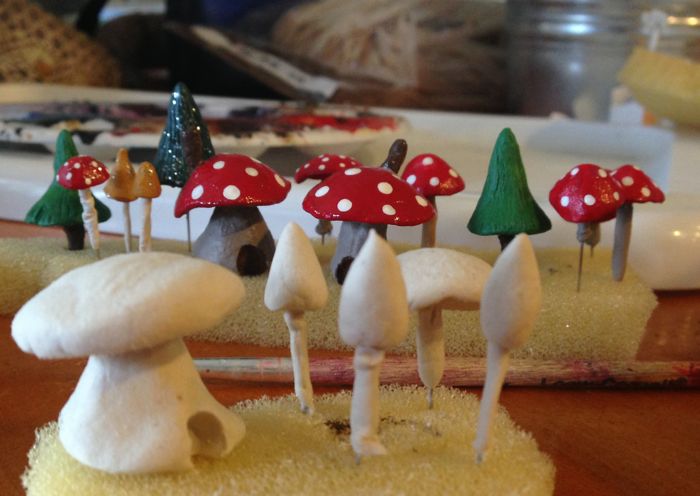
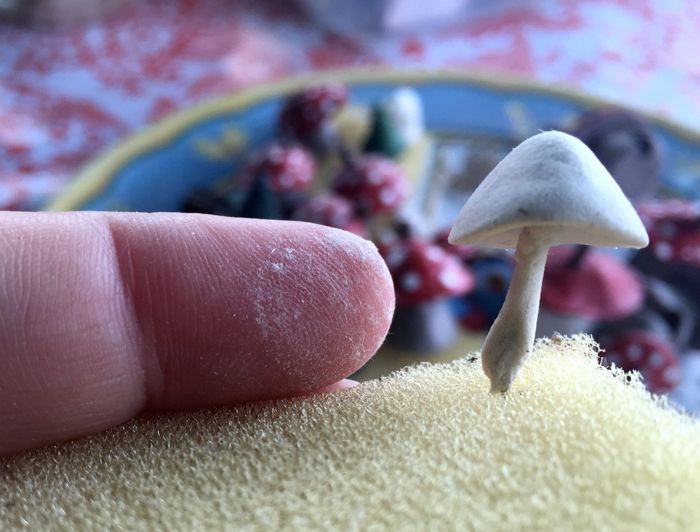
We had such a cold, dry night, these mushrooms were dry the next day. Larger pieces take more time, and I wouldn't paint anything until it's as dry as possible, to discourage mold from ruining the pieces.
Mushroom house...
single story, fireplace, cozy. I'm using the toothpick to blend the chimney clay with the mushroom cap roof. I make the door by denting an entry at the base of the mushroom with the end of the paint brush.
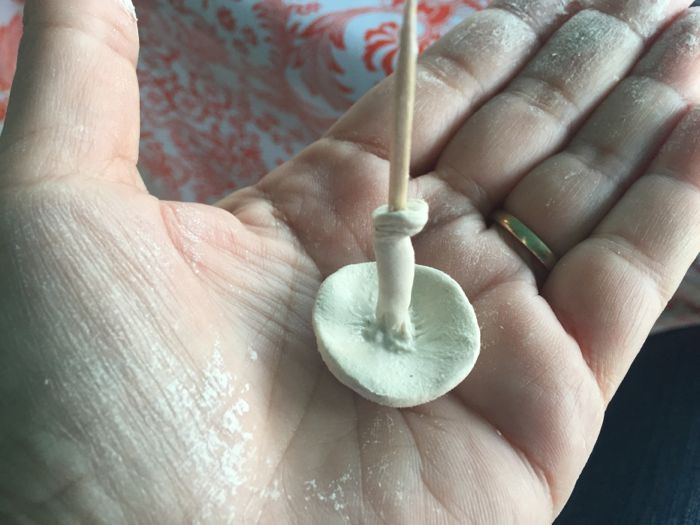
Here's an experiment: Bigger mushrooms, on toothpicks! I want to see if I can create food-safe cake decorations, by building the mushrooms on toothpicks, instead of tiny, sharp pins. I like pinching the clay at the base of the stem, so when we stick it into a cake, it will look like a wide, planted base.
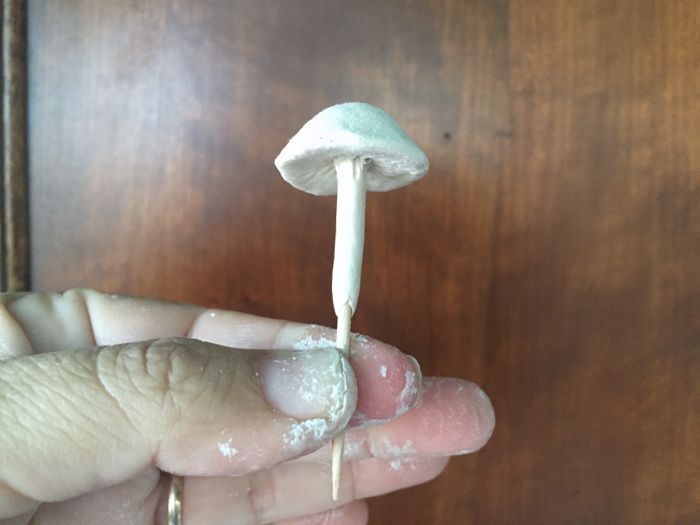
Here's a larger mushroom. I want to scrunch up the base of that stem. If you look through Pinterest for
red-capped mushrooms, you will find all kinds of inspiring shapes and colors for painting your mushrooms.

I add the white dots using the blunt end of a toothpick. Just a dip in the paint, then tap the red cap!
Easy Peasy Repairs!
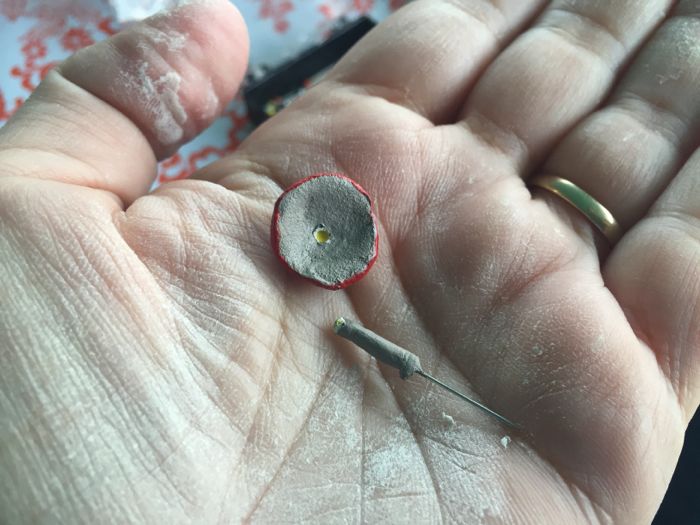
After drying, some caps fall right off, and it's so easy to fix, I wonder why I bother assembling them while they're wet. A dab of Elmer's glue and a little more drying time is all it takes. Here's one that came apart after painting; I'll fix it with the acrylic gloss. It dries very quickly!

I paint the entire cap, and be sure to get some gloss in the hole where the stem will attach. (I have no particular attachment to this brand of gloss... it's just the one that was on sale. It goes on a bit heavy, dries fast, and shiny. It's nice.)
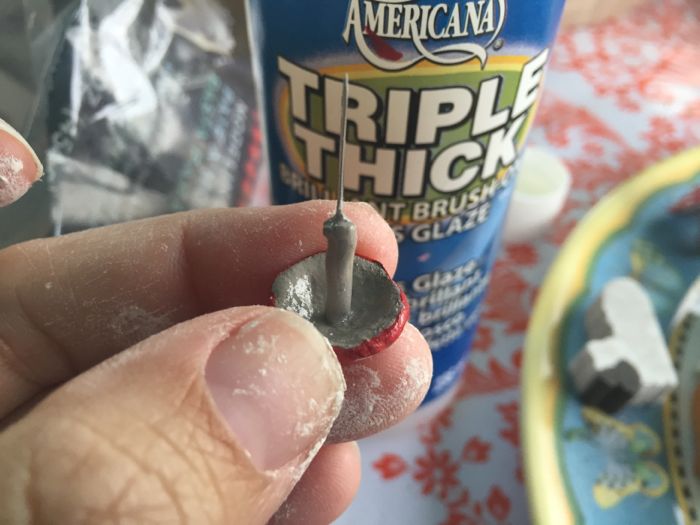
I glossed the stem, too, then set it into the cap. It will be dry in minutes. I like to have scraps of upholstery foam to hold the pieces while they dry. I'm sure a piece of styrofoam would work as well.
Make a Banquet!
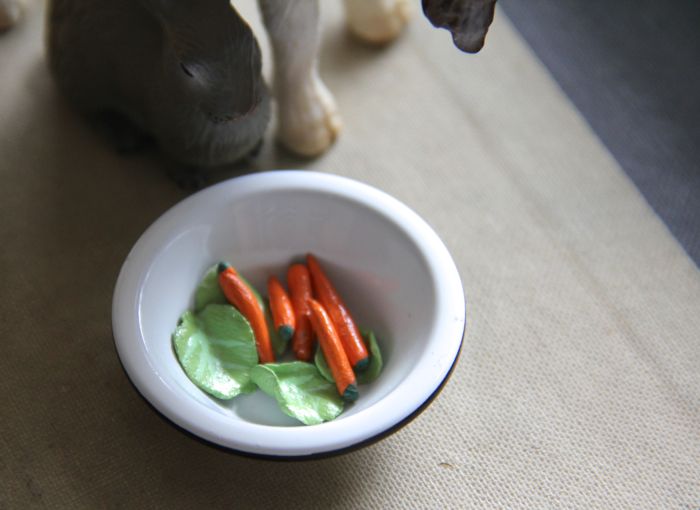
I am sure you've figured out, you can make so much more than mushrooms! These carrots and lettuce are paper clay!

These loaves of bread and baguette are paper clay, too!
1 comment:
QUE LINDOS...ME ENCANTAN.
SALUDITOS
Post a Comment