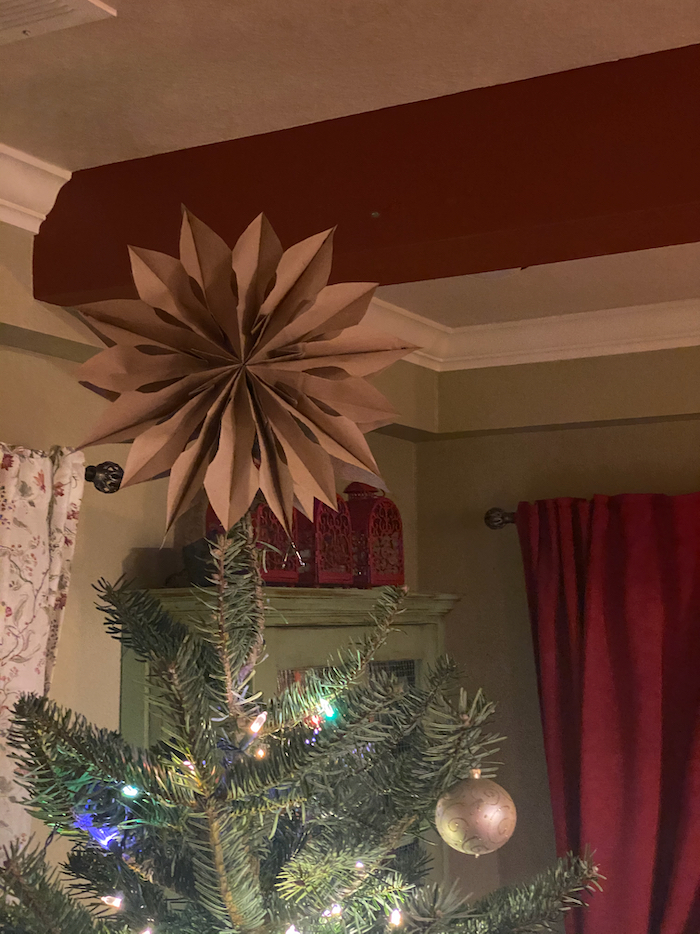
Do you want to make some paper stars?
Supplies
Paper bags... the more you use, the harder it gets to cut. These were made with eight bags.
Glue... I used a glue stick. But white glue, or hot glue would work, too.
Scissors... sharp ones help.
Paper clips or... these are to hold the two ends together when you open the star for display. You could glue the ends, but then it will be hard to store. I couldn't find any paper clips. (Baffling. They are here. We can't not have paper clips.) I used bobby pins.
Some string, or thread... anything to tie to the star for hanging.
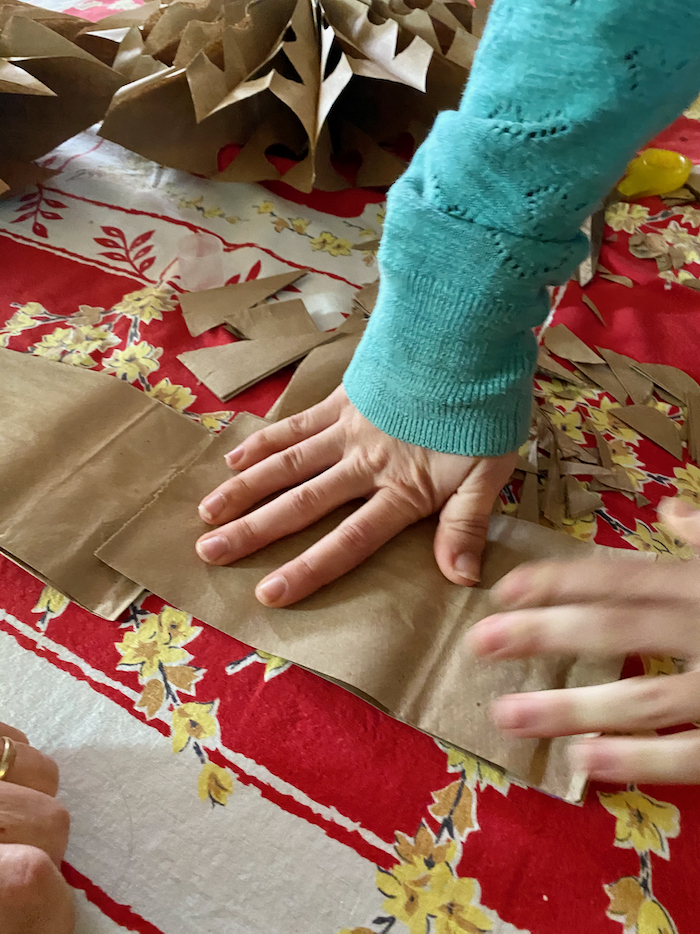
Start by counting out your bags... 7, or 8, or 9, or 10. It's your choice. Lots of bags make a fuller star, but I didn't want to be struggling cutting through all those layers. I think 8 was a good number. Face them flat/smooth side up, and make a generous width of glue from the opening end, down the center of the bag, to the bottom, then add an equally wide strip of glue across the bottom. The
T should reach the edges of the paper, so the points stick, and the center holds together, too. Now, you are ready to lay the next bag on top of the first one. Line up the second bag, with the folded bag bottom going down.
When you have the two bag pressed together, get out the glue, and make the next
T. Press the next bag, and repeat until all of your bags are layered and glued together. I did mine last night, and let them sit for an hour, to dry. I cut two stars, and saved one stack of glued bags for Maria to cut this morning.
This part is like snowflake cutting. And the first cuts are from the edge and up to the center of the bag, to make a point.
Maria is making the second cut to finish the point of the star. Our bags came with a lot of printing, which mostly gets hidden when the whole star is pinned, clipped, or glued together.
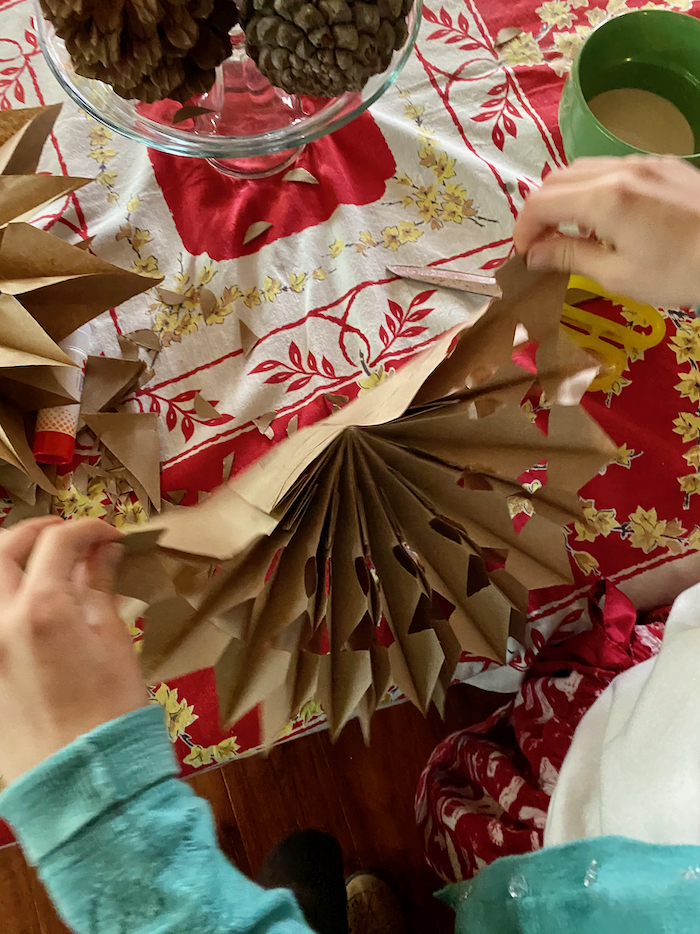
Now for the cuts on the sides of the bag, also like cutting snowflakes. The bigger the cuts, or the more of them you make, the more light will come through. We didn't cut near the bottom, where all the layers are thicker with the bag bottoms folded up and glued together.
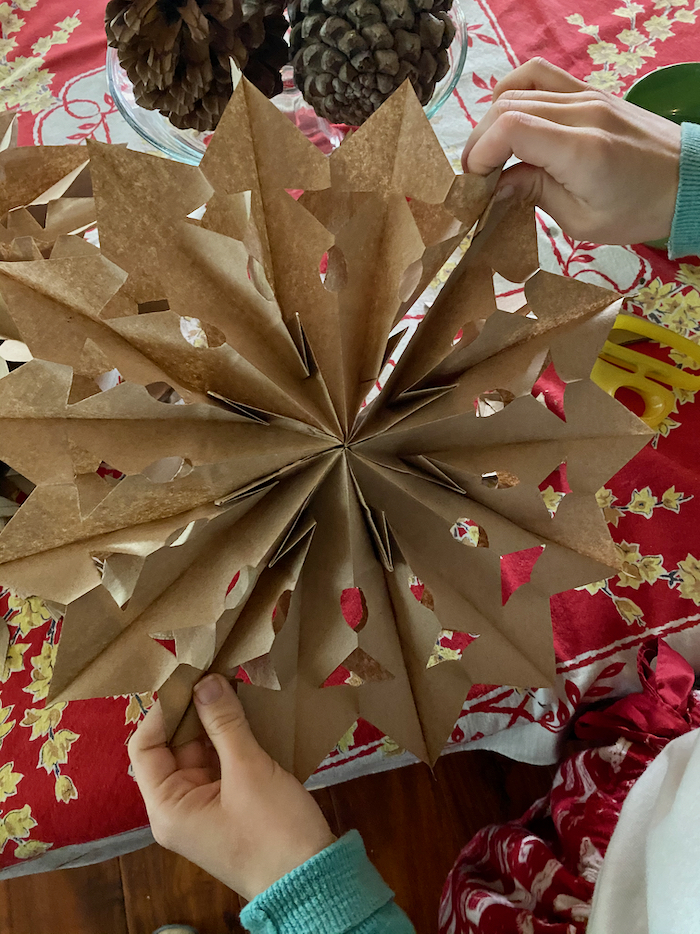
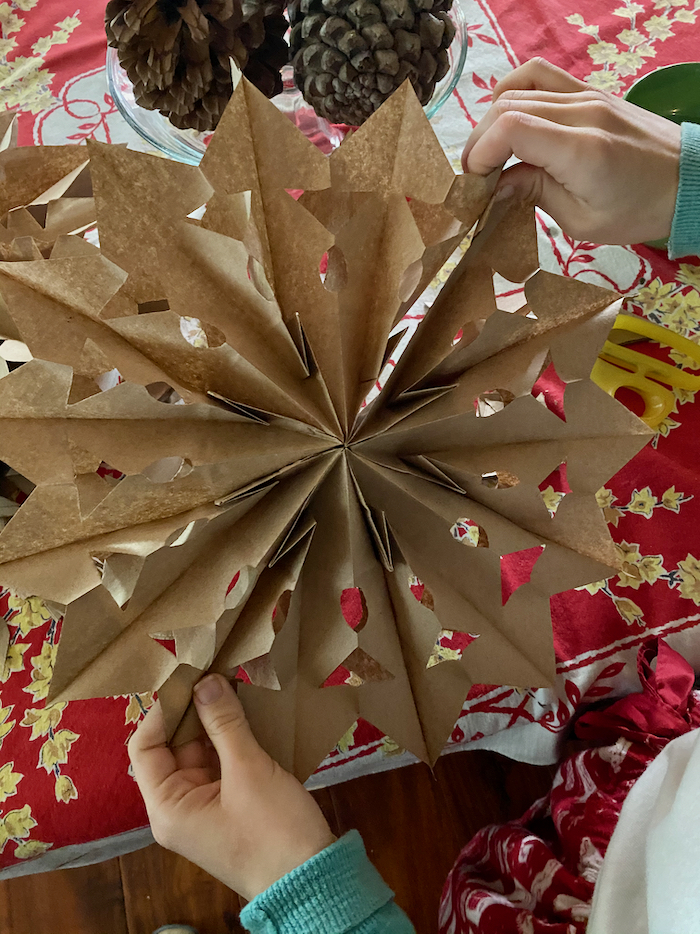
Time to open the star! And when you pull up both ends and bring them together, use either glue, maybe staples, or if you have paper clips those will make your star easy to store for another day... attach the two ends together, and
ta-da! You have a paper star!
We are making more to hang over the mantle. They would be pretty in a window, where light can shine through.